25 DIY Furniture Renovation Ideas for 2026
This post may contain affiliate links: full affiliate disclosure.
When you discover an antique piece of furniture that appeals to you, the questioning begins. How do you even start? Do you stain it or paint it?
What happens if you waste your money and ruin it? The majority of folks give up here because online guidance is unclear, skipping steps leads to poor outcomes.
This tutorial simplifies furniture rehabilitation into manageable steps, explains why it’s important, and shows how to get results without making mistakes.
In this article, you’ll find 25 Diy Furniture Renovation ideas that work well in 2026.
Contents
- 1 How to start renovating furniture?
- 1.1 Blush Modern Dresser
- 1.2 Dark Classic Sideboard
- 1.3 Natural Wood Reset
- 1.4 Soft White Refresh
- 1.5 Cabinet Color Flip
- 1.6 Soft Green Balance
- 1.7 Light Wood Modern
- 1.8 Matched Set Upgrade
- 1.9 Bold Black Anchor
- 1.10 Two-Tone Storage Stack
- 1.11 Hardware Makes It
- 1.12 Veneer Surface Fix
- 1.13 Bar Cabinet Glow
- 1.14 Textured Patina Finish
- 1.15 Minimal Matte Calm
- 1.16 Carved Detail Highlight
- 1.17 Vintage Black Lift
- 1.18 Bold Color Carving
- 1.19 Full Color Transformation
- 1.20 Wallpaper Drawer Pop
- 1.21 Leg Swap Upgrade
- 1.22 Open Shelf Conversion
- 1.23 Two-Color Blocking
- 1.24 Fabric Panel Insert
- 1.25 Matte Wax Finish
- 2 FAQs
How to start renovating furniture?
Start by slowing down and looking at the furniture you have. Piece is broken, loose, or made of thin veneer, rushing into paint will only make things worse.
Decide what result you want, because paint, stain, and polish all need different preparation. Clean the furniture properly.
Not just with water, but with a cleaner that removes grease and old residue. Light sanding comes next to help the new finish stick.
If you skip cleaning or sanding, your paint will peel or scratch off later. Once the surface is ready, choose the right products and work in simple, patient steps.
Save this article for later! 👇👇

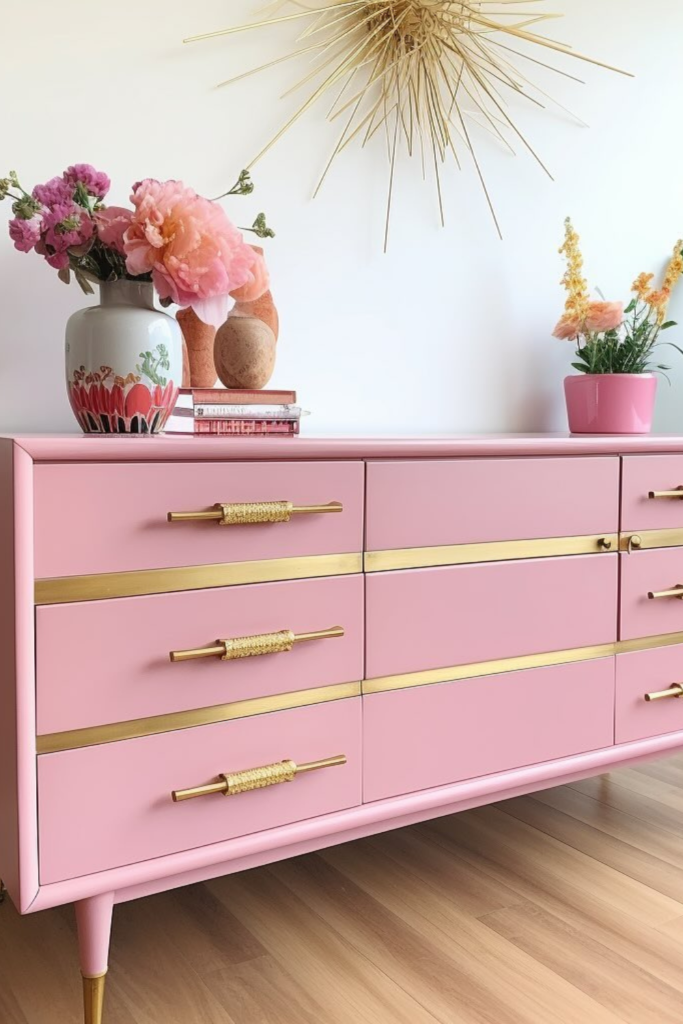
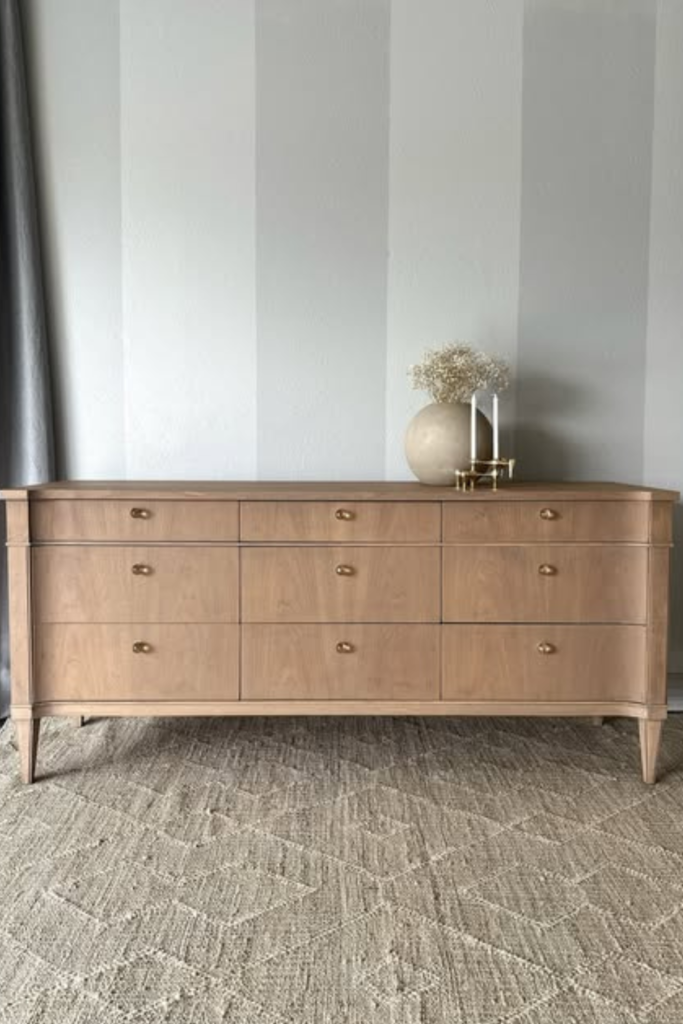
Blush Modern Dresser
Pink works when you balance it with structure. This idea fits best in bedrooms, dressing areas, or small apartments.
Paint the dresser in a muted blush tone, not bubblegum bright. Add slim brass strips to break the flat surface.
Finish with gold hardware. The contrast keeps it modern, not childish, and instantly upgrades a basic old dresser.
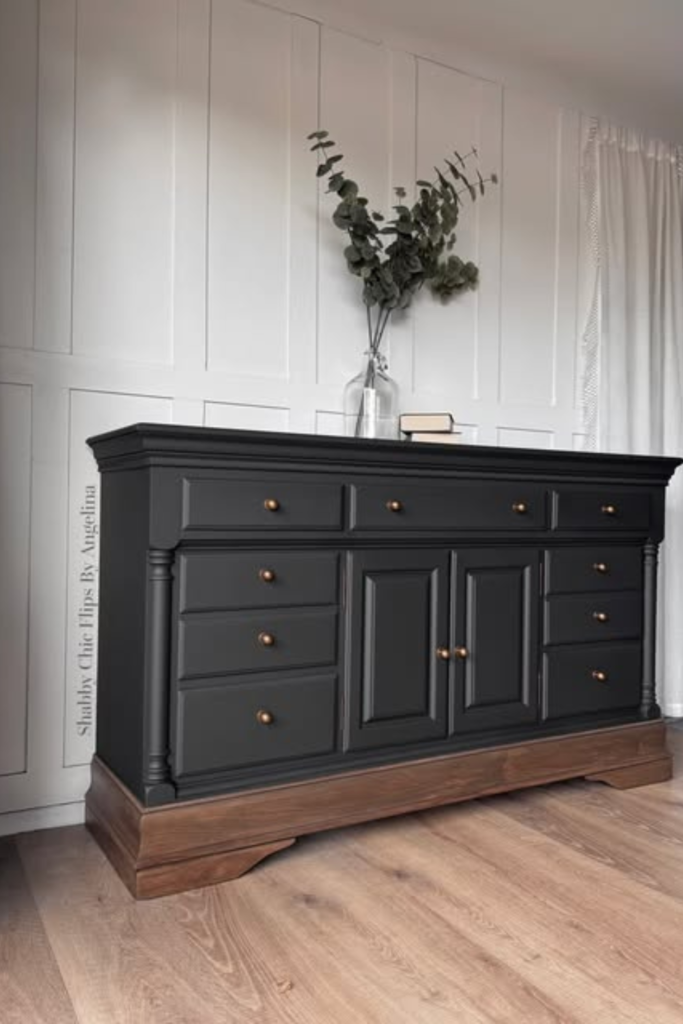
Dark Classic Sideboard
Dark paint hides age better than anything else. This works best in dining rooms, entryways, or living spaces.
You want weight and depth. Paint the body in charcoal or near-black, then keep the base wood-toned to ground the piece.
Swap in warm brass knobs to soften the darkness. You rush sanding here, brush marks will show, so take your time upfront.
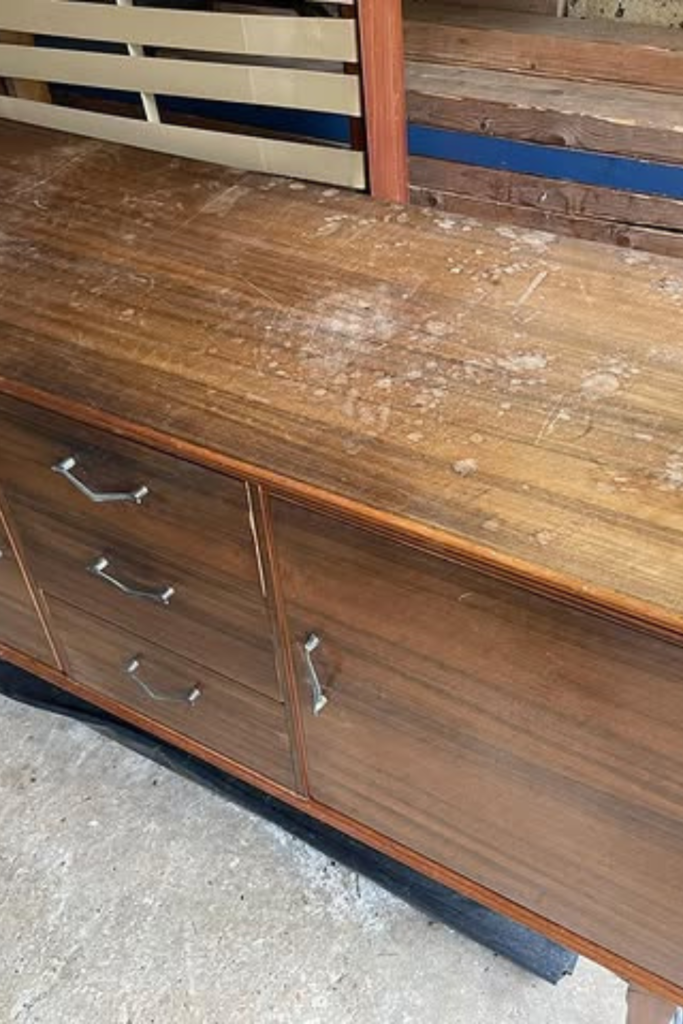
Natural Wood Reset
When the timber is good but the finish is worn, you do this. For solid wood dressers with surface damage.
But no structural problems from the 1960s to the 1980s, this works well. Remove the previous finish, sand evenly.
Apply a warm mid-tone restain. Apply a satin clear finish to make the wood appear natural rather than synthetic.
Soft White Refresh
When you want everything to feel clean, calm, and pulled together. Paint the furniture in a warm white.
Not bright, stark white, so it doesn’t look cheap. Keep the tops wood-toned or lightly stained to add contrast.
Prevent the set from feeling flat. Matching hardware across pieces ties different pieces of furniture into a cohesive look.

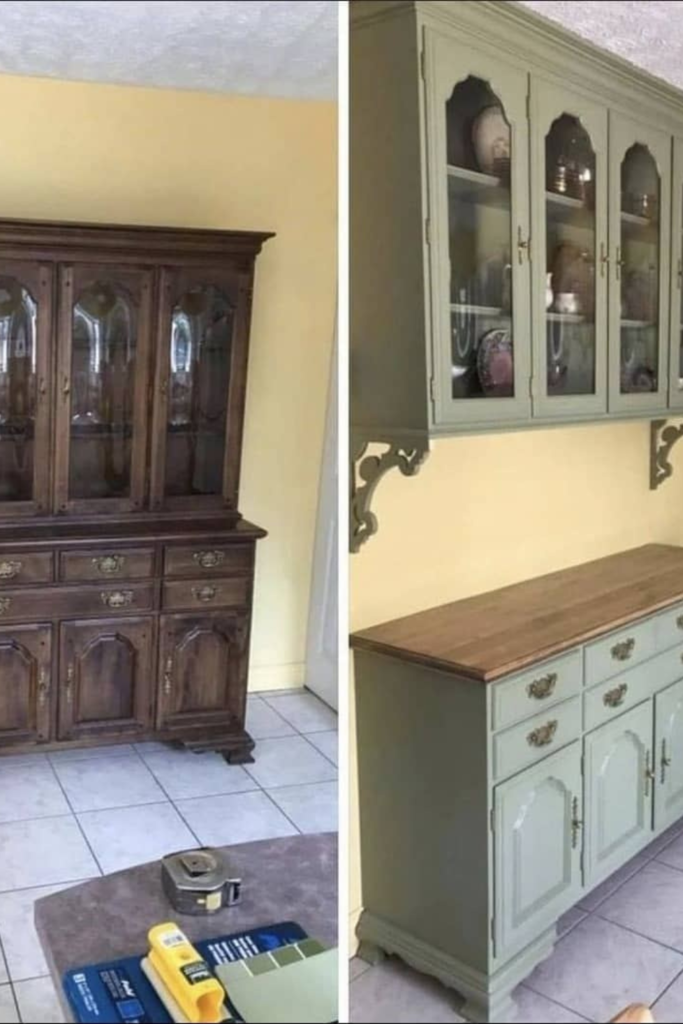
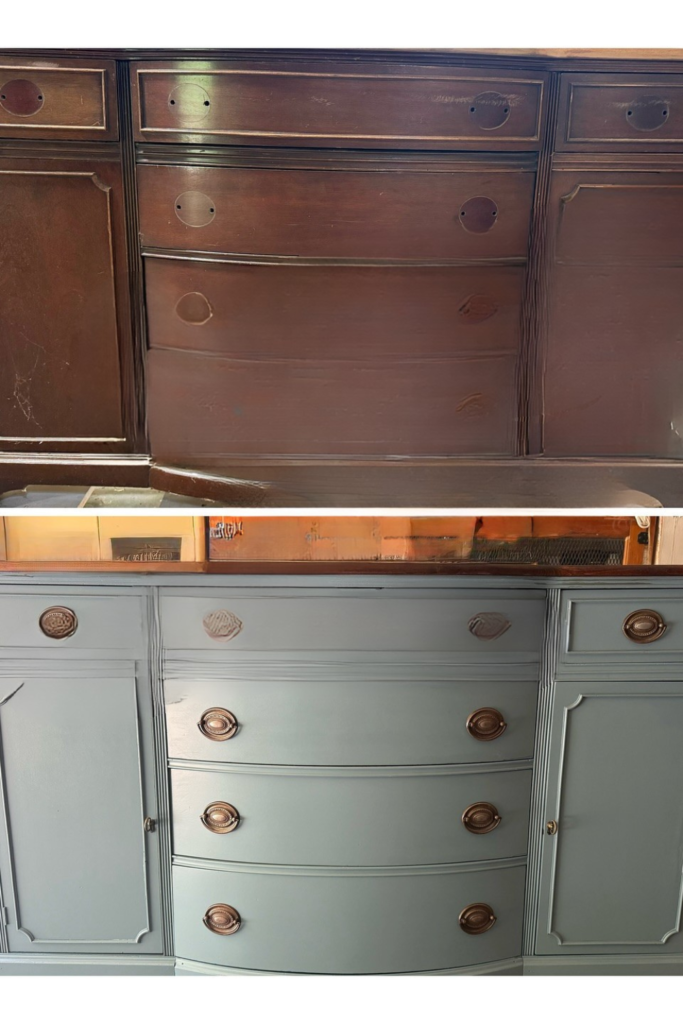
Cabinet Color Flip
Paint the main body in a soft muted color like sage or gray-green to lighten the room without going cold.
Keep the countertop wood-toned to prevent it from losing warmth. Reinstall the upper section securely.
Reuse the original hardware to keep the character while making it feel current, perfect when the furniture feels heavy.
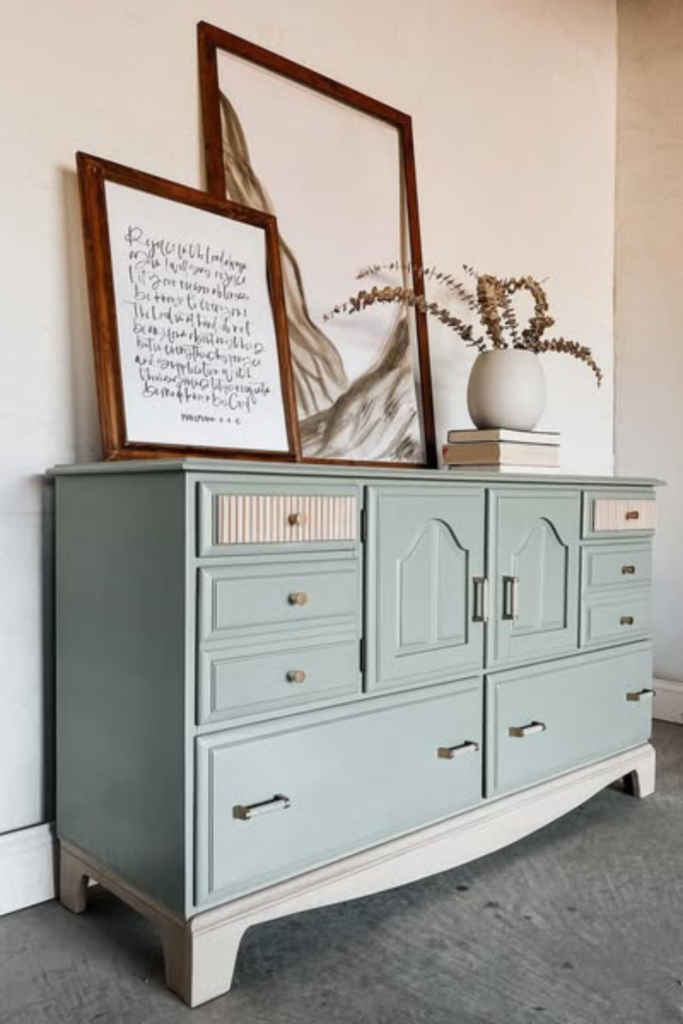
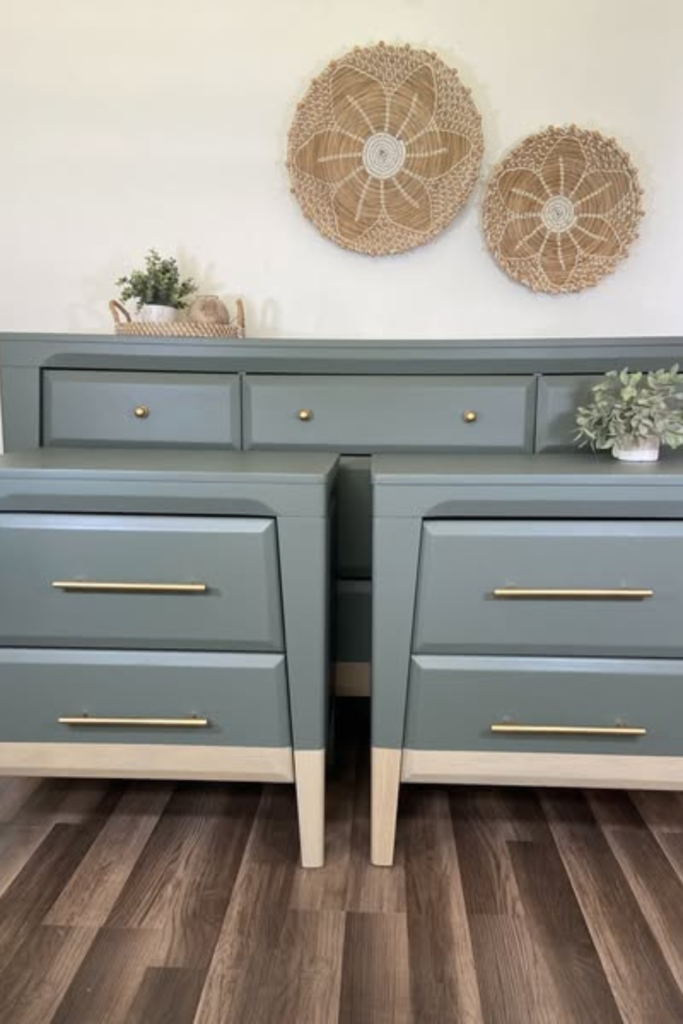
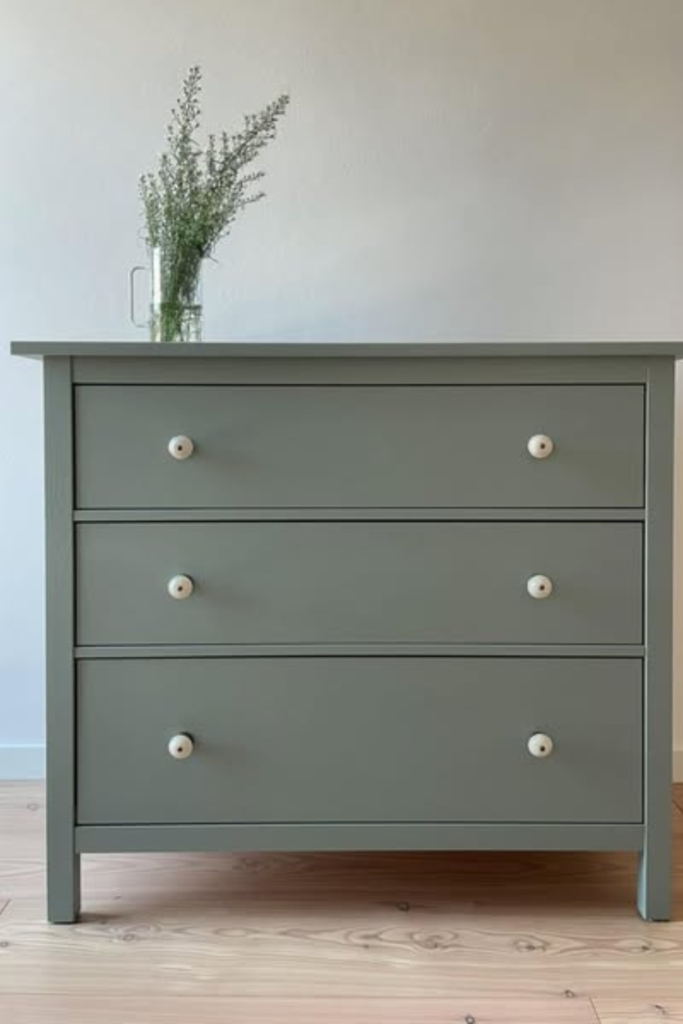
Soft Green Balance
You want color without overpowering the room. Use a muted green or blue-gray to calm the space, especially in bedrooms or entryways.
Keep the base or trim lighter so the piece doesn’t feel heavy. Swap bulky knobs for slim metal pulls to sharpen the look.
Light Wood Modern
You want a calm, modern look. Sand the surface evenly to remove orange or red tones, then use a light neutral stain to soften the wood.
Keep the legs and shape clean so the piece feels airy, not bulky. This works especially well in minimalist bedrooms or modern living spaces.
Matched Set Upgrade
Paint everything in a single muted tone so the set reads as a single unit. Keep the legs lighter to avoid visual heaviness near the floor.
Use long, modern pulls to stretch the look horizontally. This approach is perfect for bedrooms where balance matters more than statement color.
Bold Black Anchor
Deep black works best in large spaces or open layouts where lighter furniture feels lost. Use a satin or matte finish so it looks rich, not dusty.
Break up the darkness with warm wood at the base and brass hardware on the drawers. Keeps the piece bold without feeling heavy.

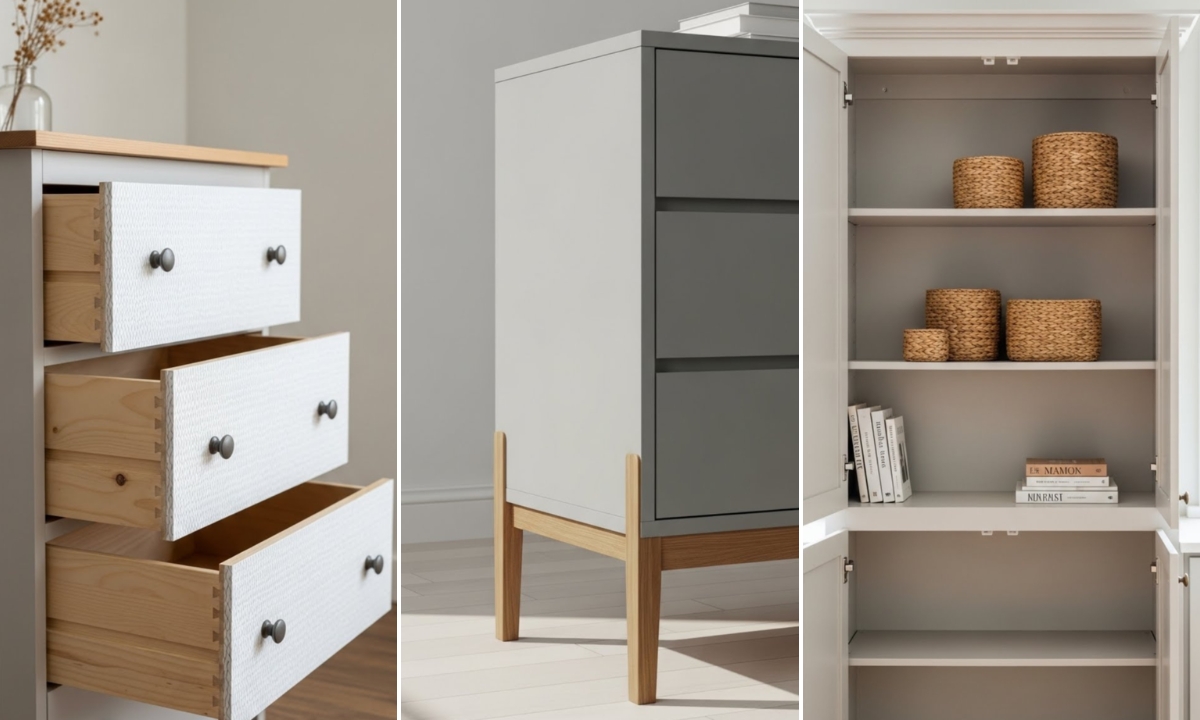
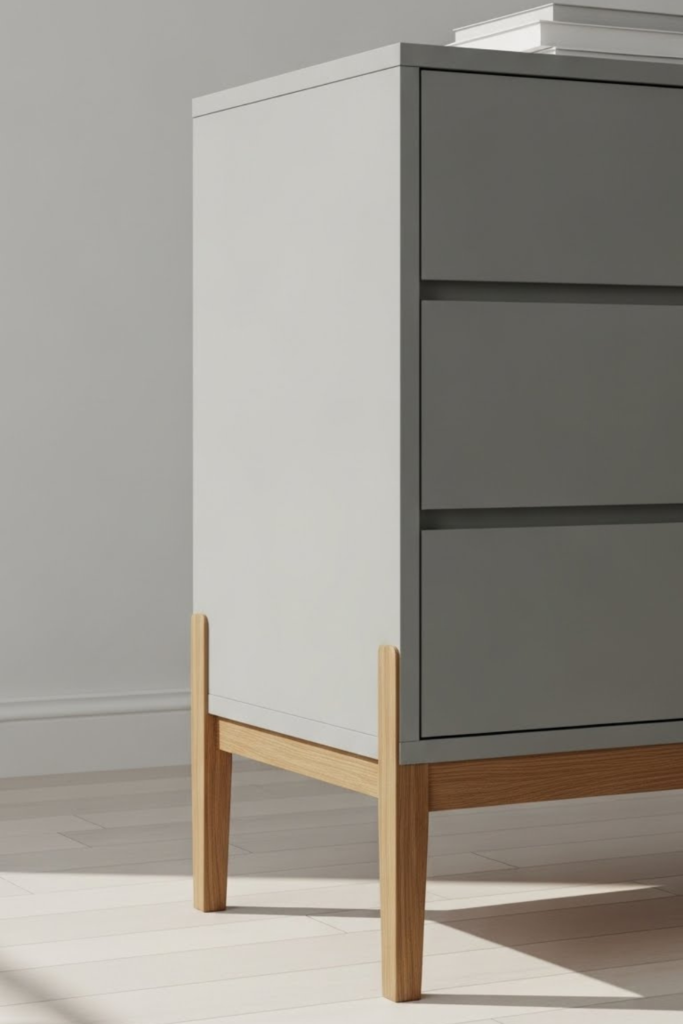
Two-Tone Storage Stack
Keep the frame natural wood so it blends into the room, then paint the drawers a soft gray or muted tone for contrast.
Perfect for small living rooms, home offices, or bedrooms. Stick to matte paint so the modern lines stay clean and sharp.

Hardware Makes It
This works when the furniture shape is good, but the details feel dated. Paint the piece in a deep, solid color.
The hardware stands out instead of blending in. Swap small or worn handles for oversized brass knobs.
Hinges to add weight and intention, best for cabinets and sideboards where the hardware can carry the whole design.
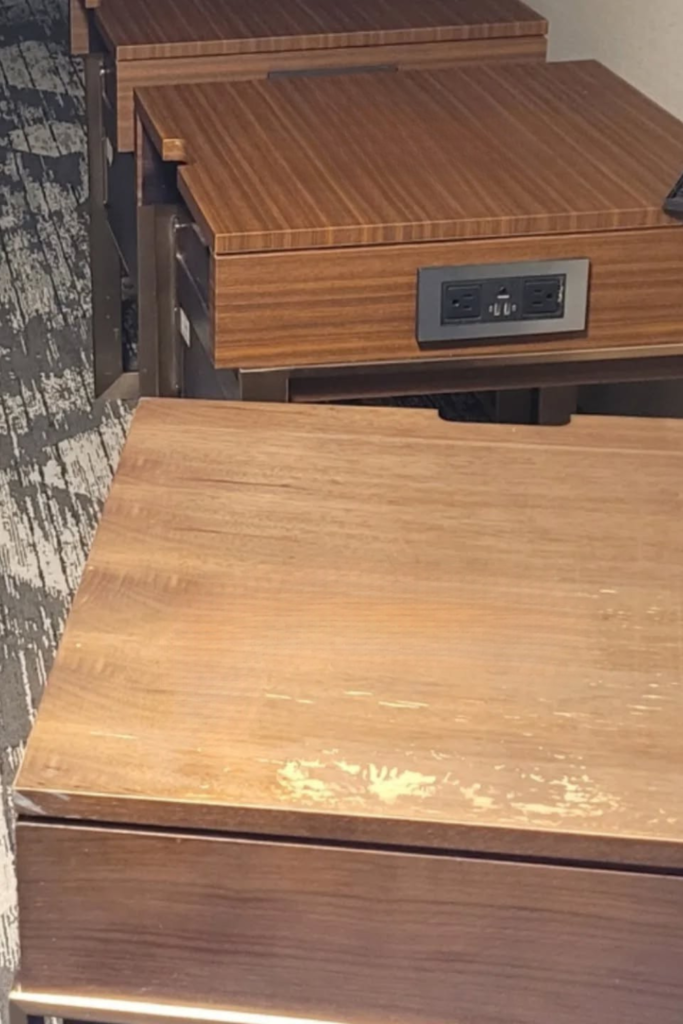
Veneer Surface Fix
When the structure is solid, but the top looks destroyed. Instead of sanding through veneer, cover it.
Apply real wood veneer or high-quality laminate after leveling the surface. Trim clean, then seal the edges.
Prevent peeling later, perfect for nightstands where the top takes the most abuse, and paint would look cheap.
Bar Cabinet Glow
You want furniture to become a feature, not a background. Paint the cabinet in a deep, rich color so it stands out in the room.
Add warm interior lights to the shelves to highlight glassware and create a mood at night, perfect for dining rooms or living spaces.

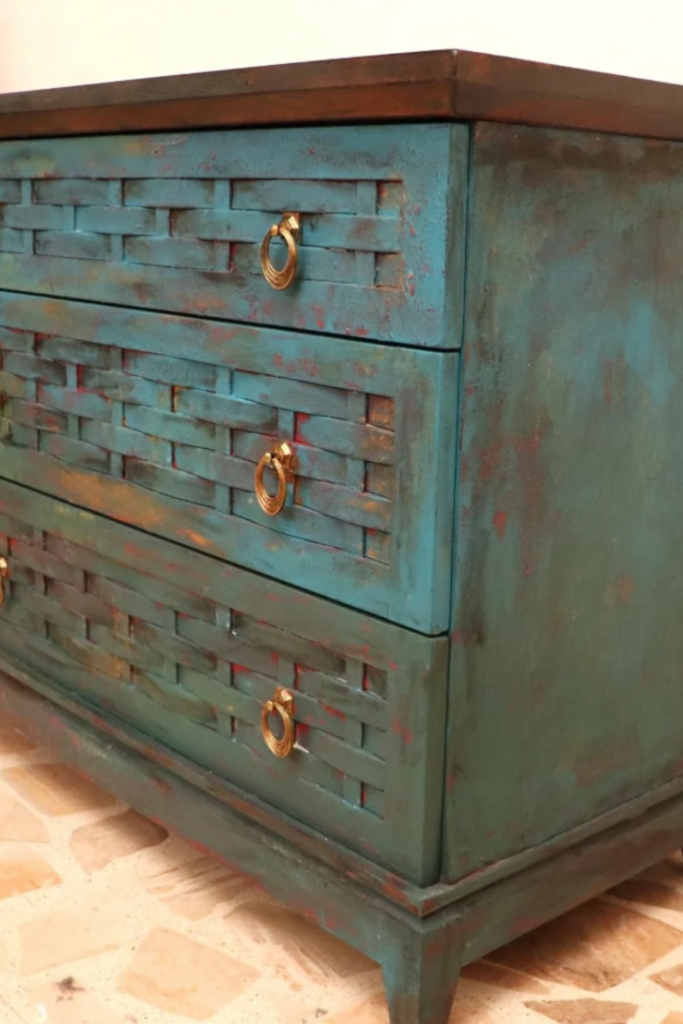
Textured Patina Finish
When the furniture looks too plain, and you want depth without replacing it. Use a base color like teal or green.
Then lightly layer a second tone with a dry brush or sponge. Don’t aim for perfection irregular texture is the goal.
Seal it well so the layered look stays intentional, not worn. This style fits boho, eclectic, or vintage-inspired rooms.
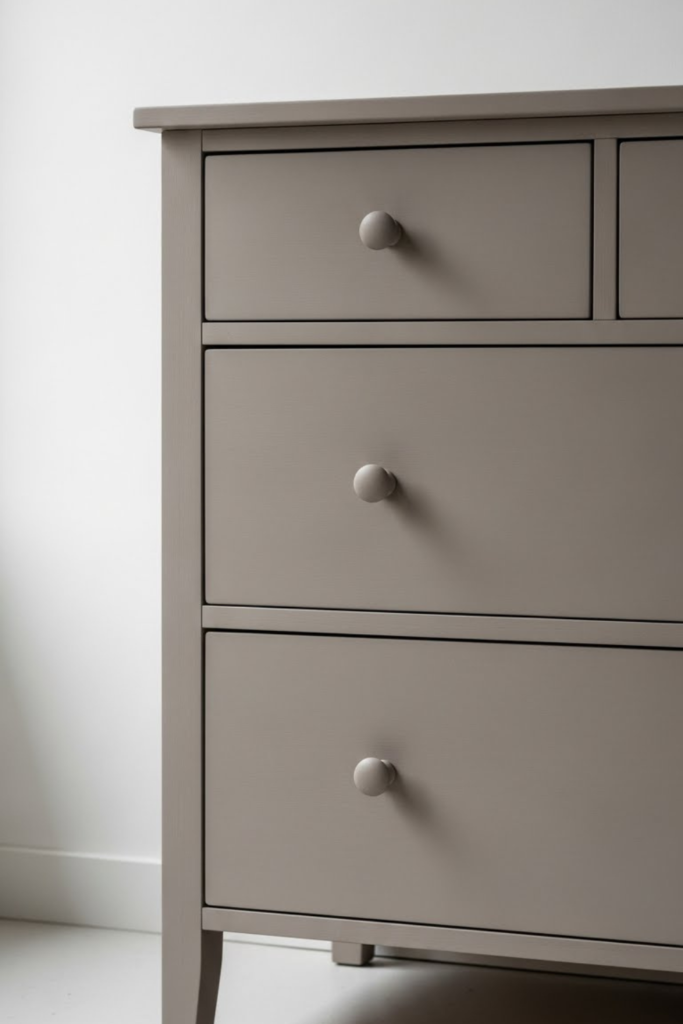
Minimal Matte Calm
You want the furniture to blend into the room. Use a soft matte finish in a muted neutral so light doesn’t bounce off the surface.
Keep hardware simple or match it to the paint for a clean look. This approach is perfect for small bedrooms or calm spaces.
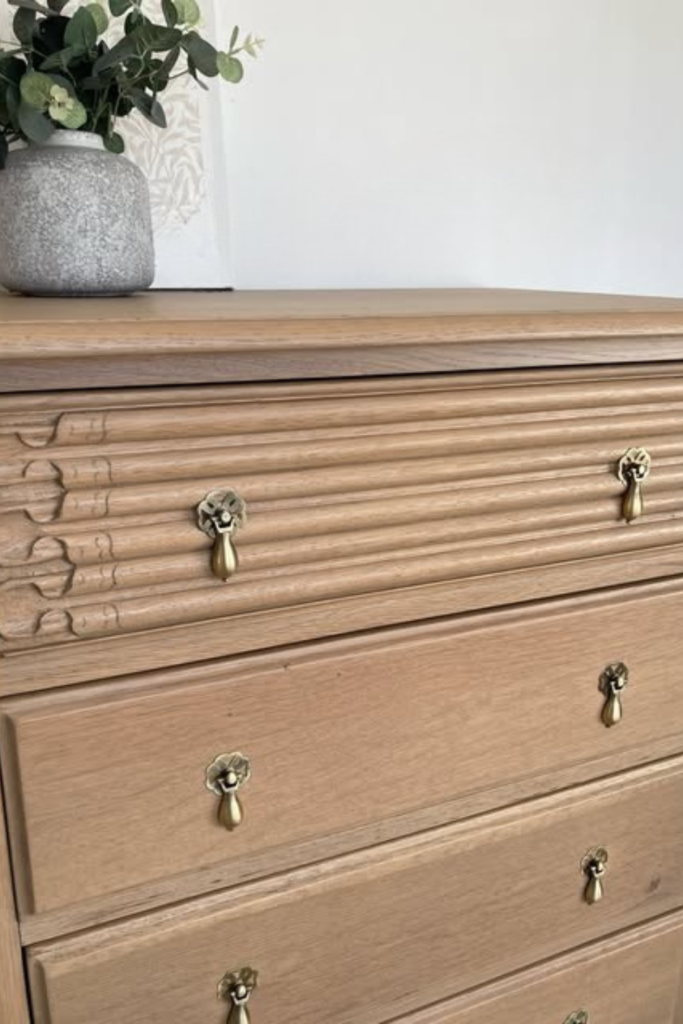
Carved Detail Highlight
When the furniture already has beautiful detailing that paint would hide, works well. Instead of covering it up.
Use a clear or very light stain to bring the carving forward. Keep the finish soft, so shadows define the texture naturally.
Pair it with simple brass pulls so the details stay the focus. This approach is perfect for vintage or heritage-style pieces.
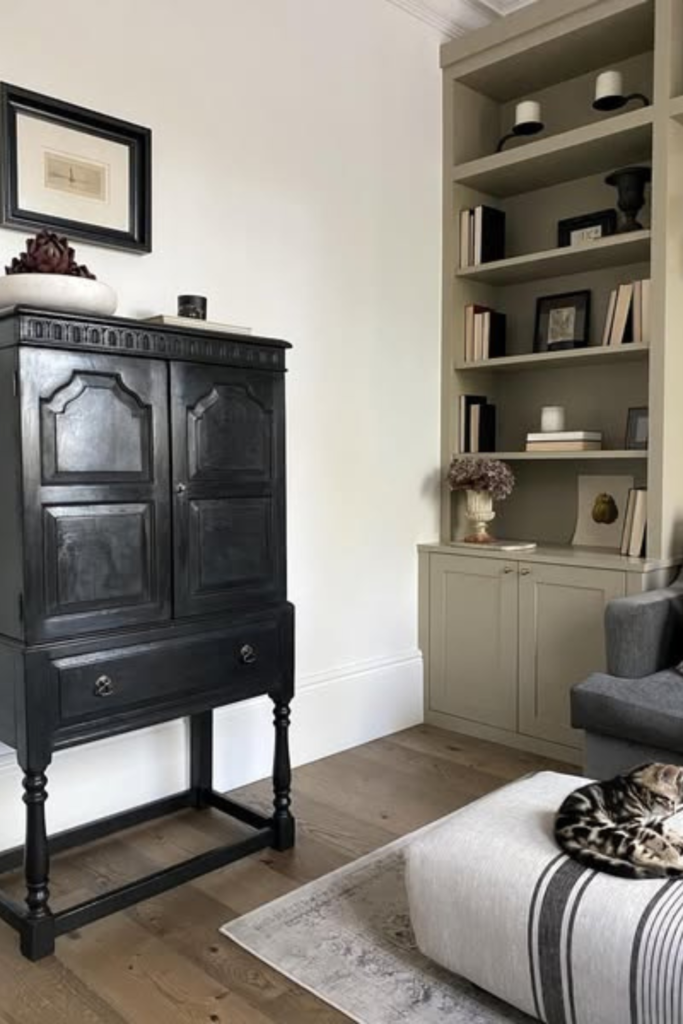
Vintage Black Lift
Furniture feels heavy and old at floor level. Painting it black gives it presence, but raising it on taller legs stops it from looking bulky.
Use a soft satin finish so light catches the details instead of flattening them. This style fits living rooms or reading corners.
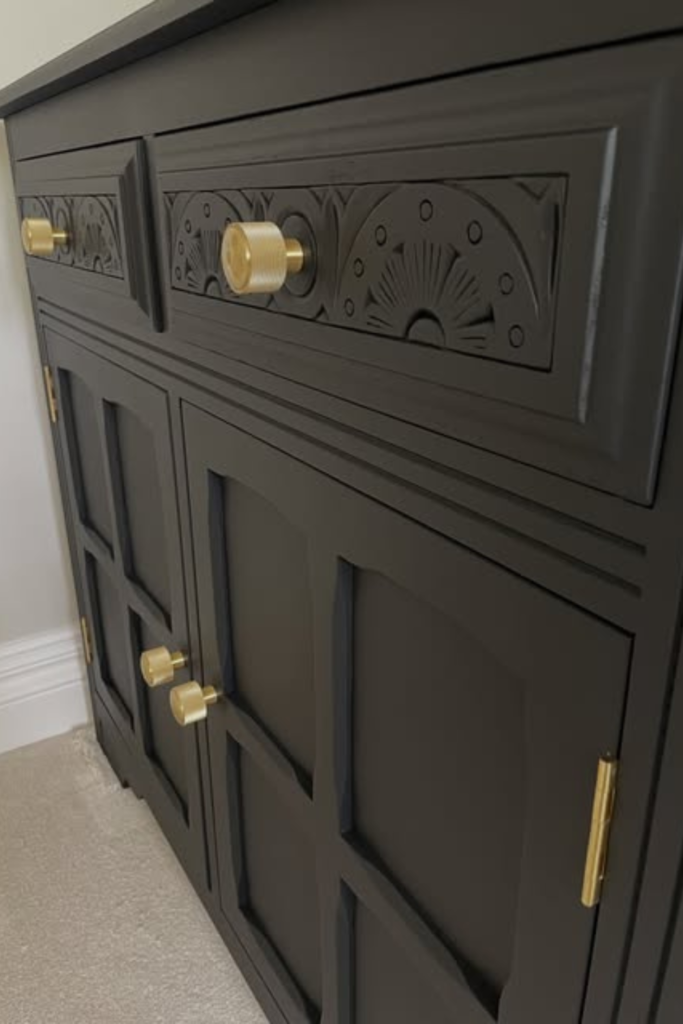
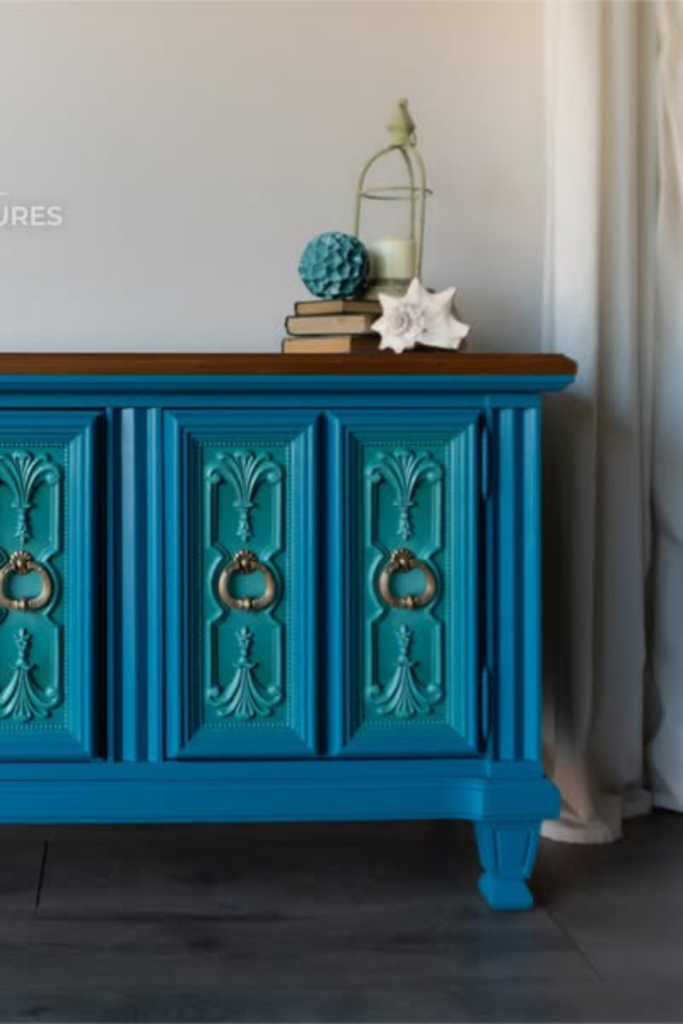
Bold Color Carving
When the furniture already has strong details, and you want them to be noticed. Use a rich, saturated color, works best.
Carved sections cast shadows. Keep the top wood-toned to give the eye a break and stop the color from feeling too heavy.
Full Color Transformation
When the furniture shape is great, but the finish makes it look dated and heavy. Choose a muted, modern color.
Instantly soften the piece. Prep matters here; clean well and sand evenly so the new paint sits smoothly.
Finish with upgraded hardware to make the transformation feel intentional, not just painted over, this works well.
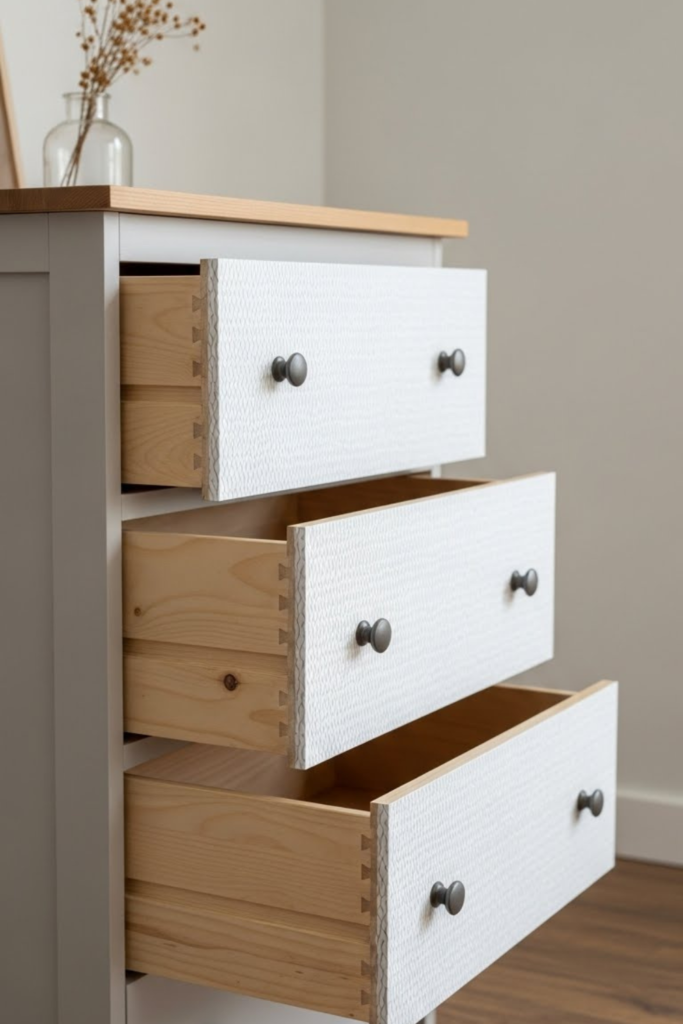
Wallpaper Drawer Pop
Add peel-and-stick wallpaper to drawer interiors or backs for a hidden surprise, best for dressers.
Nightstands, or cabinets that you open often. Cut slightly oversized, smooth it down, then trim clean.
You get personality without repainting the whole piece, works when outside looks fine but inside feels boring.
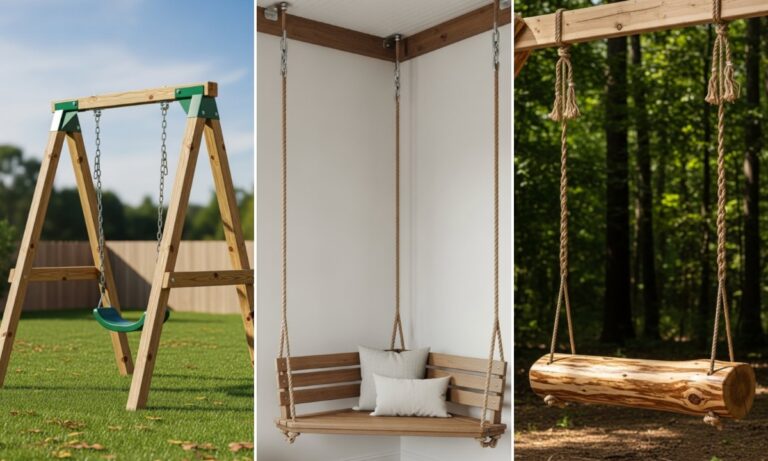
Leg Swap Upgrade
This is for furniture that feels short, heavy, or dated. Remove the legs and replace with taller wood or metal ones. It instantly modernizes the piece.
Improves proportions, works well on dressers and cabinets in small rooms where lifting furniture off the floor makes the space feel bigger.
Open Shelf Conversion
If doors feel bulky, remove them. This idea works best for cabinets or hutches with good interior depth.
Fill old hinge holes, repaint, and turn the space into open shelving. Style it with baskets, vase or books.
To keep it practical. It’s perfect for living rooms, offices, or kitchens that need lighter-looking storage.

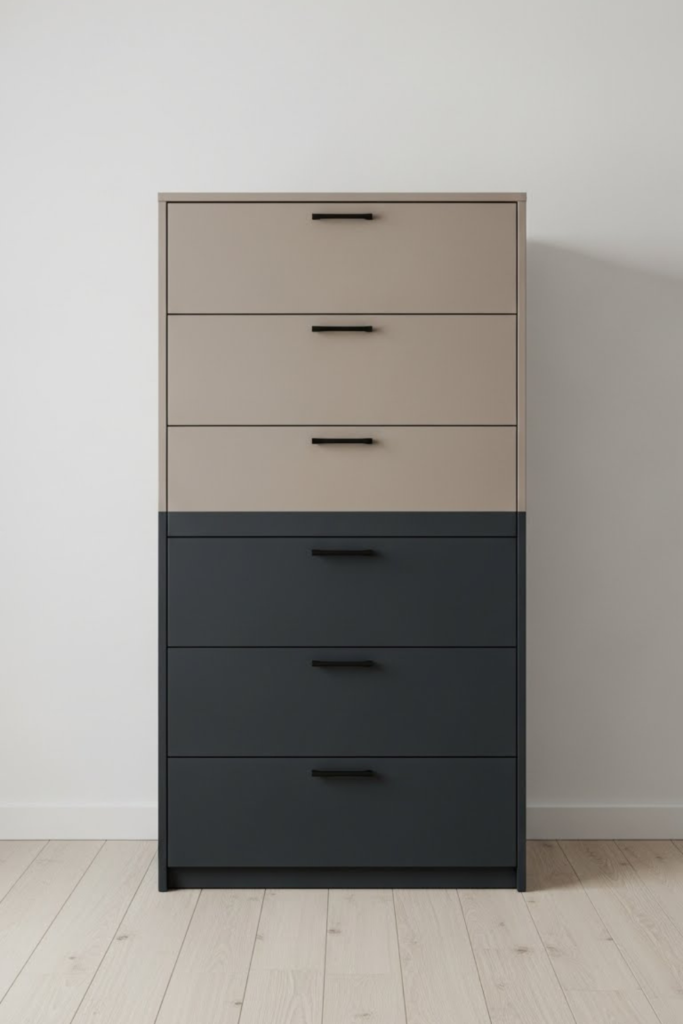
Two-Color Blocking
Paint the top half one color and the bottom another to visually break it up. Keep tones in the same family so it feels intentional.
Works well on tall dressers or wardrobes where one solid color feels overwhelming. This is useful when a piece looks flat or oversized.
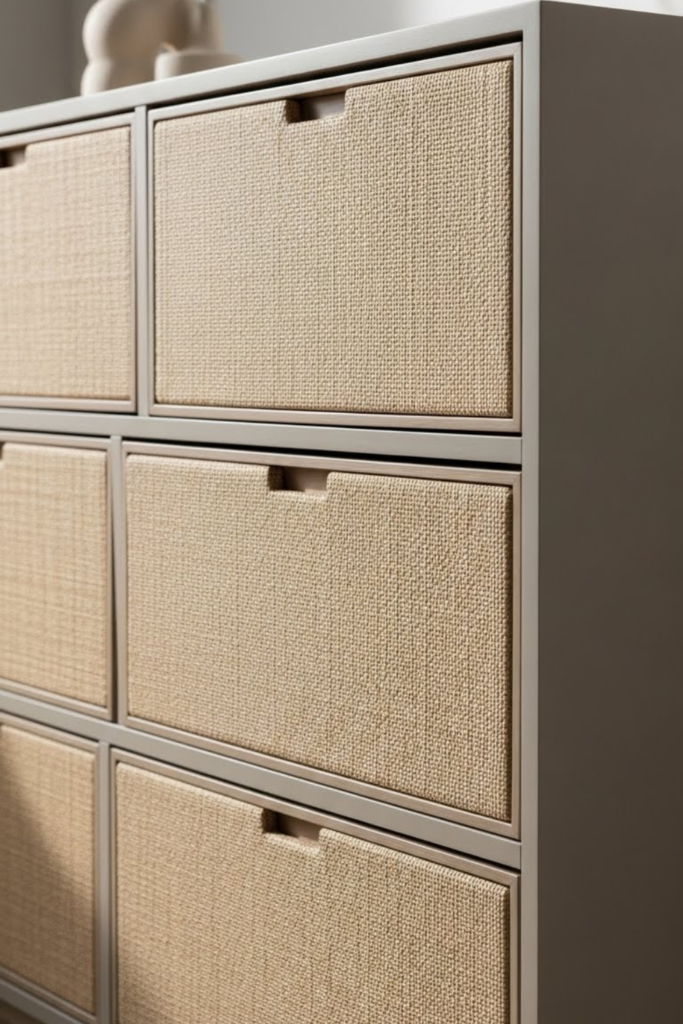
Fabric Panel Insert
Remove the center panel and replace it with cane, linen, or mesh fabric. Secure it from the back to keep it tight, when flat drawer fronts look boring.
This arrangement works best. Adds texture and softness, especially in bedrooms or boho-style spaces where wood alone feels too harsh.
Matte Wax Finish
This is for people who hate shiny furniture. After painting, seal with furniture wax instead of a glossy topcoat. It gives a soft, chalky feel.
This finish works best on low-traffic pieces like dressers or accent cabinets, where touch matters more than heavy durability.
FAQs
How to turn old furniture into something new?
It doesn’t need to be rebuilt; instead, it just needs to be viewed differently. To make the piece seem solid again.
Start by repairing any loose or broken parts. Next, choose the paint color, stain, hardware, or legs that will have the greatest visual impact.
Prepare the surface for that finish, clean it thoroughly, and focus on one major modification rather than trying to do everything at once.
Can I paint over furniture without sanding?
Yes, occasionally, but only if the surface is smooth and unglossy. The paint will peel if the furniture has shine, wax, or old polish.
Use a bonding primer made for smooth surfaces if you decide to forego sanding entirely. Sanding is still the safer option if you want the paint to last.
You may like to read!

Fasial is the founder of the Fizzy Flare. He has been a passionate blogger since 2021. He ran three different websites in the past few years. Now he is focusing on Fizzy Flare to build an audience and help them organize their life.