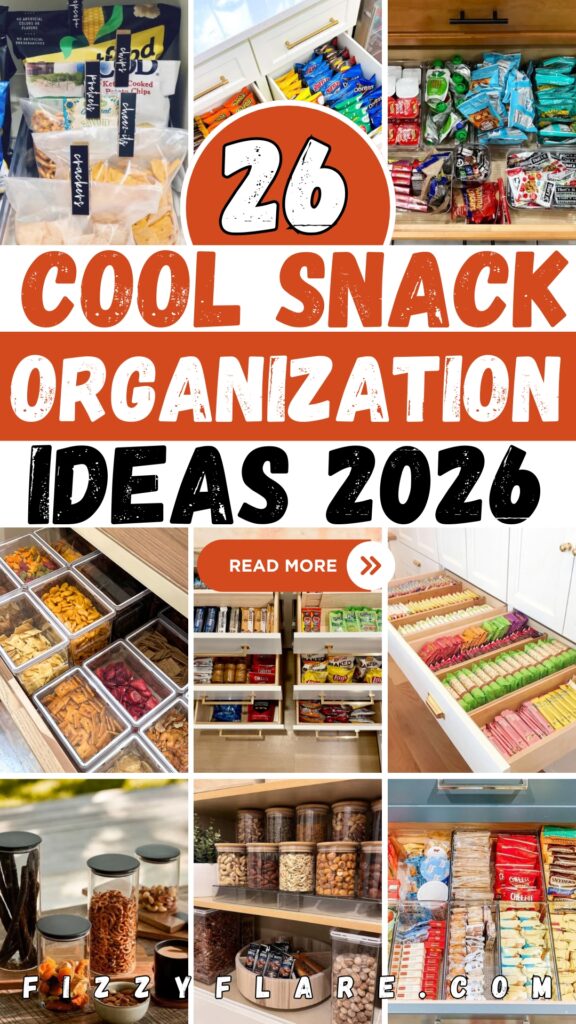
26 Snack Organization Ideas for 2026
This post may contain affiliate links: full affiliate disclosure.
If your snacks are always all over the place, you’re not alone. One day, the pantry looks fine, and the next day, everything is mixed, crushed, or half-empty.
Kids can’t find what they want, you keep buying snacks you already have, and somehow the mess keeps coming back.
The problem isn’t the snacks, it’s the lack of a simple system. In this article, you’ll learn how to organize snacks in a way that actually works.
In this article, you’ll explore Snack 26 Organization Ideas that work in 2026.
Let’s jump in!
Contents
- 1 How to Organize Snacks?
- 1.1 Snack Drawer
- 1.2 Flavor Rows
- 1.3 Label Swap
- 1.4 Bar Lines
- 1.5 Drawer Zoning
- 1.6 Clear Grid
- 1.7 Daily Portions
- 1.8 Snack Organization Shelf
- 1.9 Counter Canisters
- 1.10 Snack Cart
- 1.11 Snack Rows
- 1.12 Snack Pantry Zones
- 1.13 Snack Shelf Stacking
- 1.14 Snack Organization Cubes
- 1.15 Snack Packet Lines
- 1.16 Snack Display
- 1.17 Snack Drawer Lanes
- 1.18 Snack Sorting Pods
- 1.19 Labeled Snack Bins
- 1.20 Snack Category Shelves
- 1.21 Snack Container Grid
- 1.22 Snack Jar Lineup
- 1.23 Snack Cabinet System
- 1.24 Snack Basket Zones
- 1.25 Snack Pouch Stand
- 1.26 Snack Drawer Blocks
- 2 FAQs
How to Organize Snacks?
Start by grouping snacks based on how they’re actually used. When everything is mixed together, people grab the wrong items.
Leave a mess behind. Put grab-and-go snacks in one group, lunchbox snacks in another, and treats in a separate spot.
If you have kids, keep their daily snacks together so they don’t dig through everything else. This step speeds up snack decisions.
Prevents your system from falling apart. When snacks are grouped with a purpose, your pantry becomes easier to manage.
Save this article for later! 👇👇
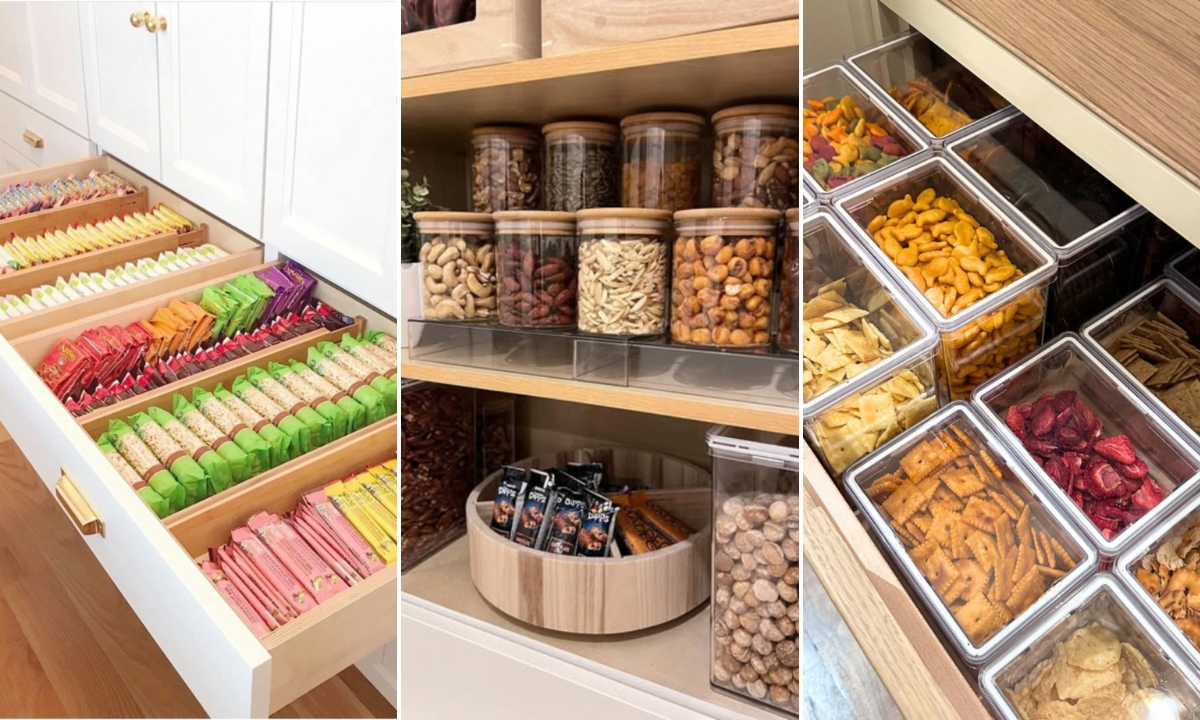
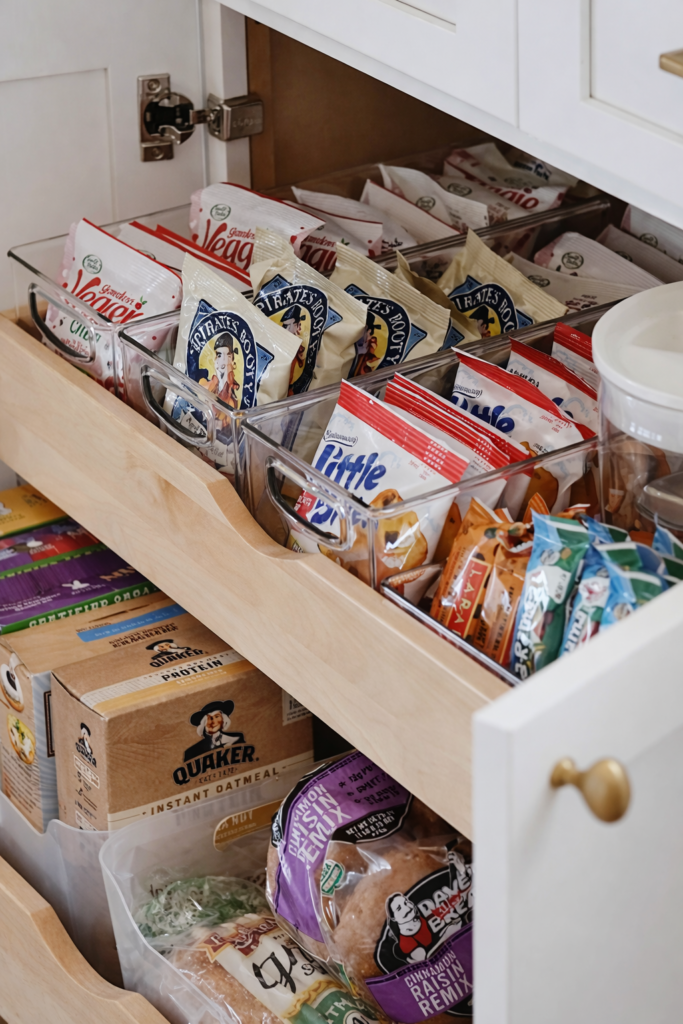
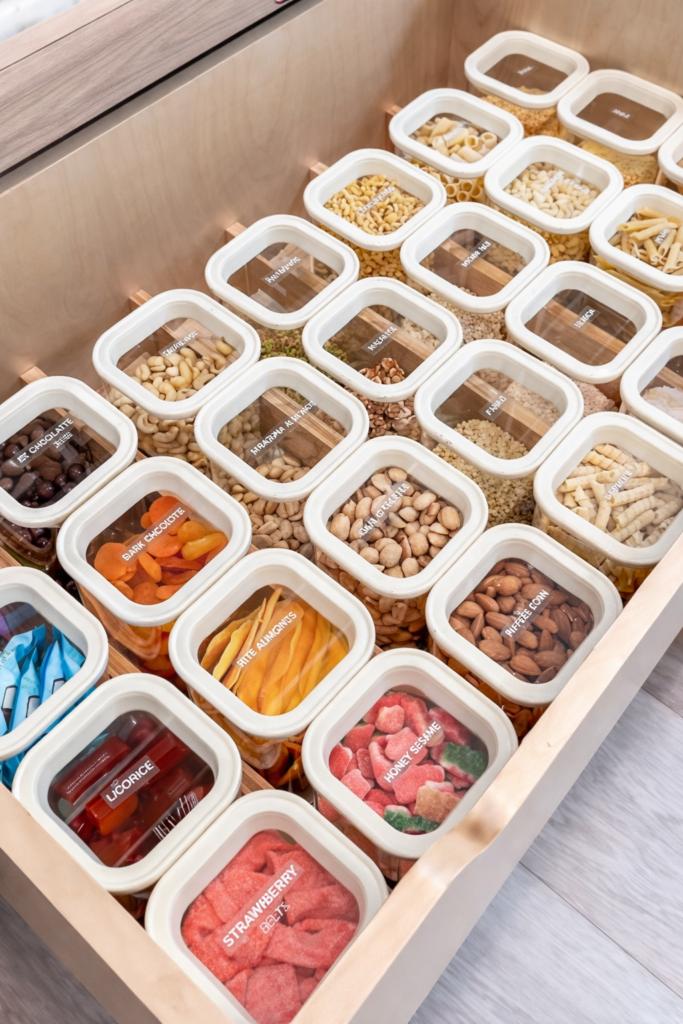
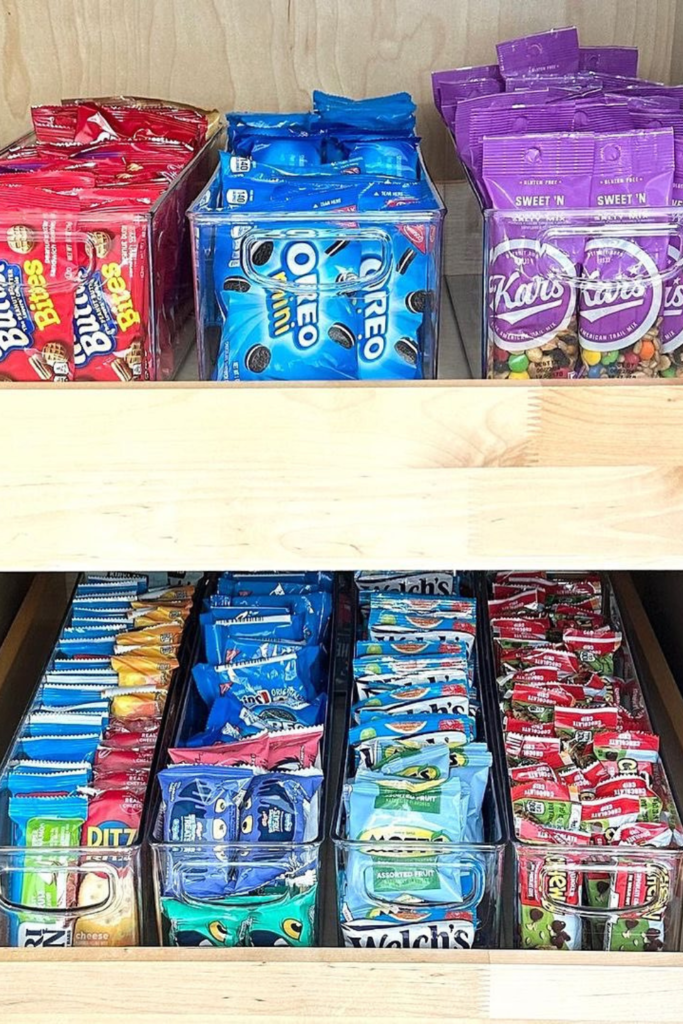
Snack Drawer
Turn a deep kitchen drawer into a grab-and-go snack hub by using clear bins to separate snacks by category.
Flat packets stay visible, pouches stand upright, and small treats stop floating around. Use shallow bins that works well.
Overhead kitchen lighting is enough here, since visibility comes from clear containers, not decorative lights.
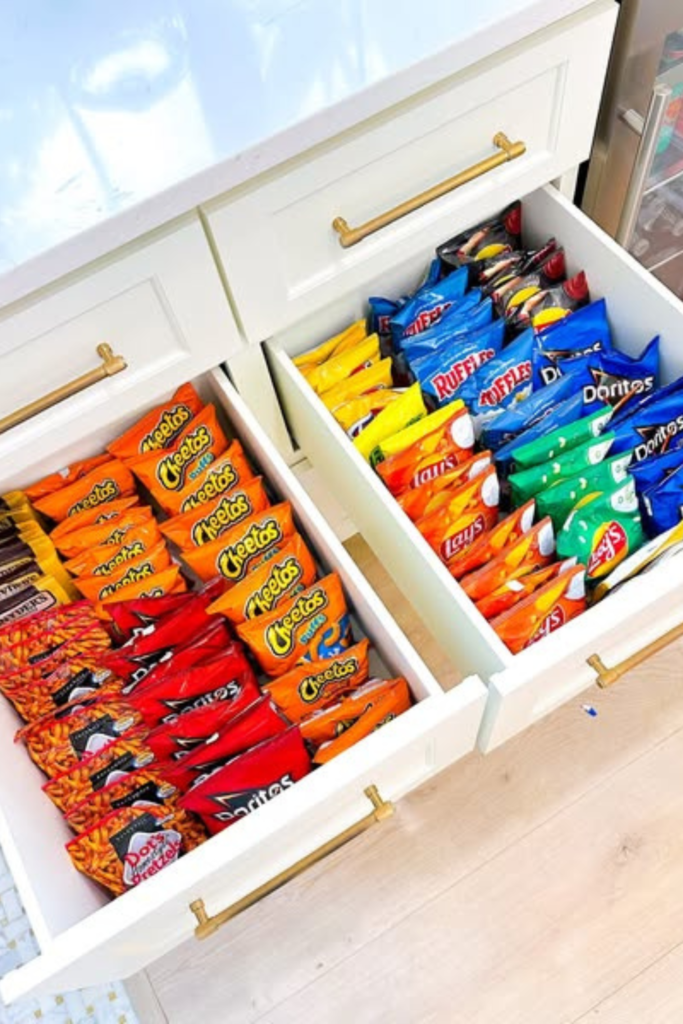
Flavor Rows
Separate chips by flavor rather than brand to prevent bags from collapsing into each other. Tall drawers work best.
Use drawer dividers or simple box inserts to create vertical lanes. Restocking becomes faster because it has a clear limit.
Bright natural light from nearby windows keeps colors visible, while under-cabinet lighting helps during late-night snack runs.
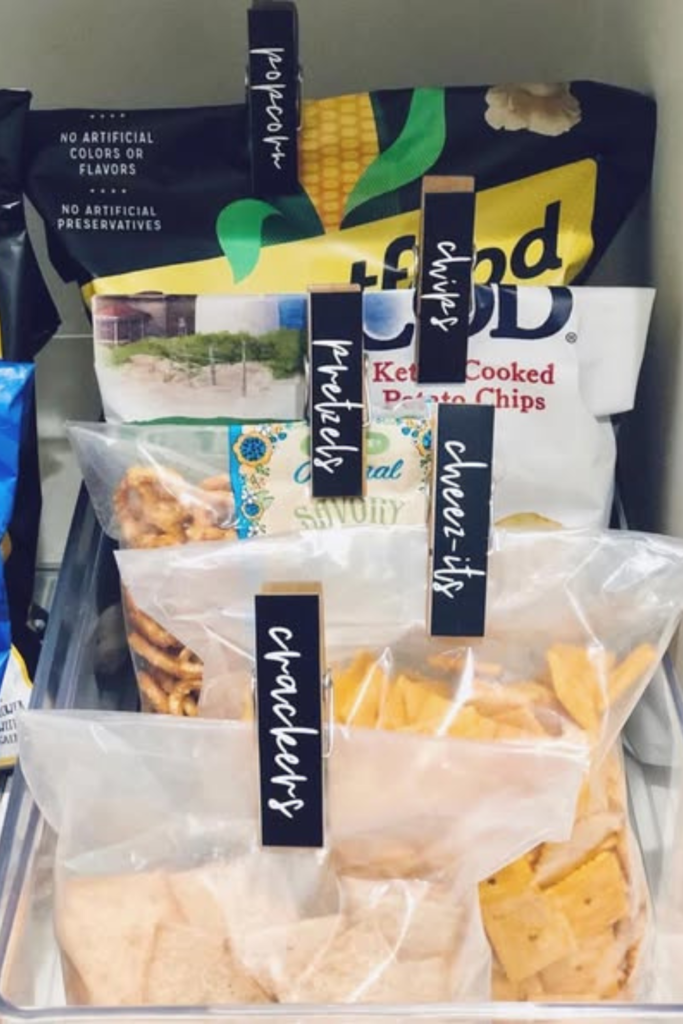
Label Swap
Loose snacks stay under control when bulky packaging is replaced with clear zip bags and simple labels.
Portion snacks first, then stand bags upright inside a bin so everything stays visible. Chalk-style labels.
Keep it flexible for changing snacks. Soft ambient kitchen light works well here, with no need for extra lighting.
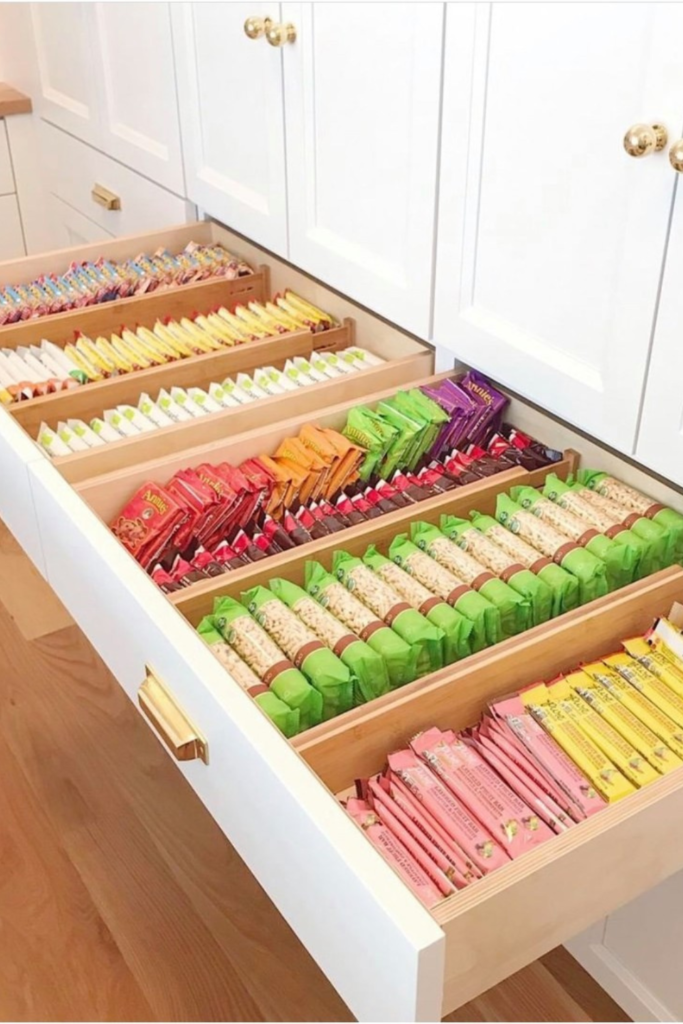
Bar Lines
Snack bars stay organized when they’re lined up by type instead of tossed into bins. Wide, deep drawers work best.
Everything lies flat and stays visible at a glance. Use wooden drawer dividers to create long sections.
Natural daylight keeps the colors clear, while soft overhead lighting makes restocking easy without harsh shadows.
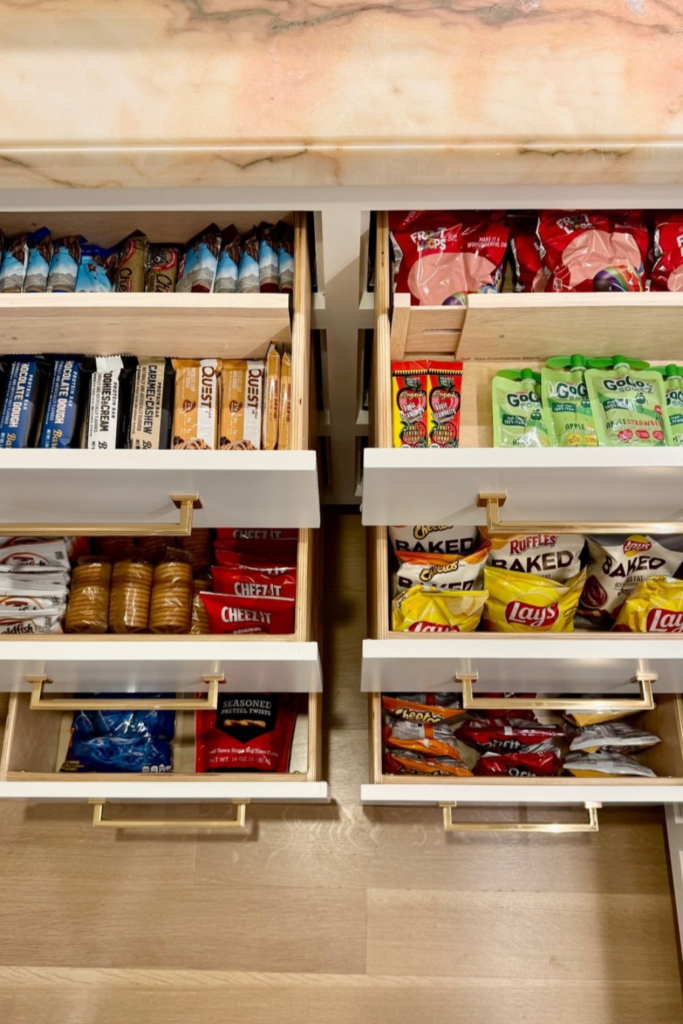
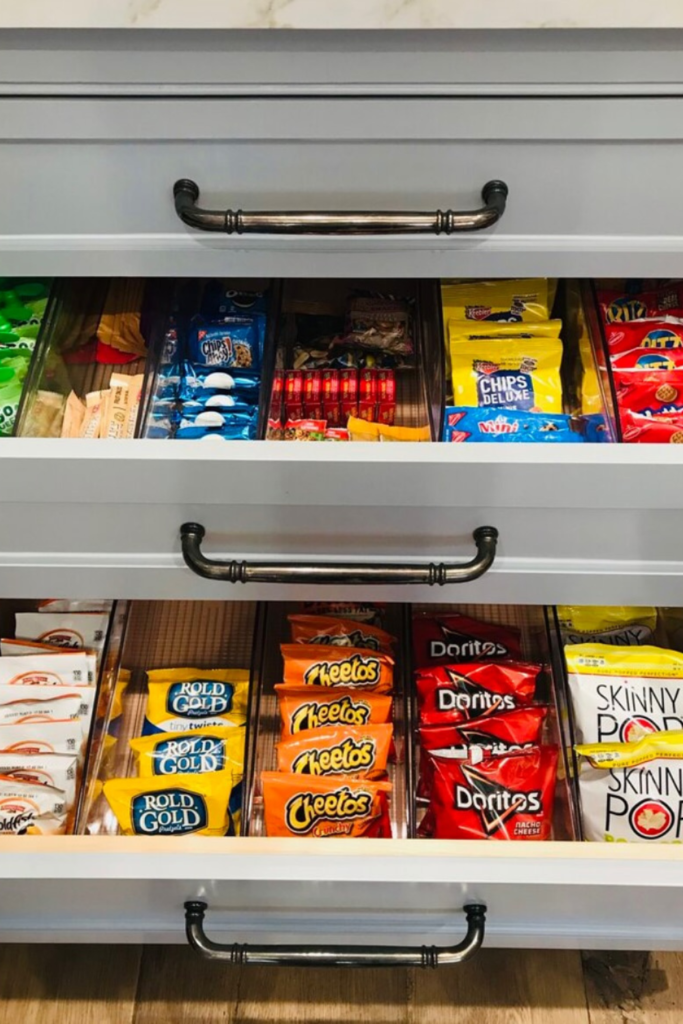
Drawer Zoning
Separate snack types by drawer level so nothing overlaps. Upper drawers handle bars and pouches that need quick access.
Lower drawers hold bulkier chip bags and crackers, works best in wide kitchen islands. Use wooden pull-out drawers.
Keep everything visible, use warm under-cabinet lighting adds depth and makes each zone easy to scan, even at night.
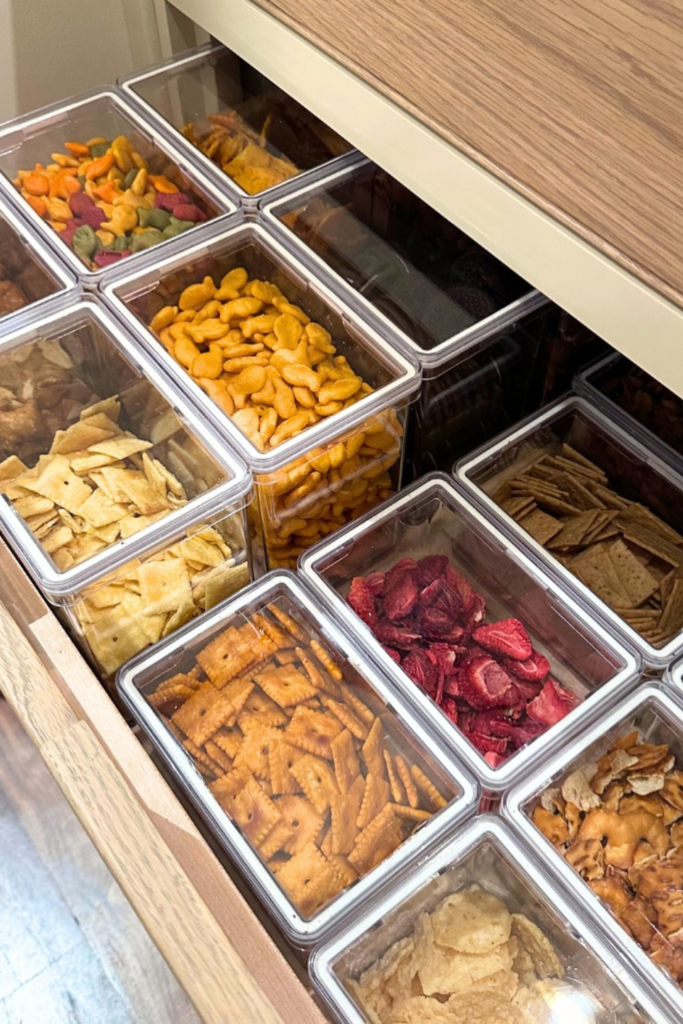
Clear Grid
Loose snacks stop turning into crumbs when each type gets its own airtight container. Deep drawers work best.
Square containers maximize space and make refilling easy. Keep similar textures together so nothing gets crushed.
Soft overhead lighting paired with natural daylight highlights contents clearly, which helps you spot low snacks before they run out.
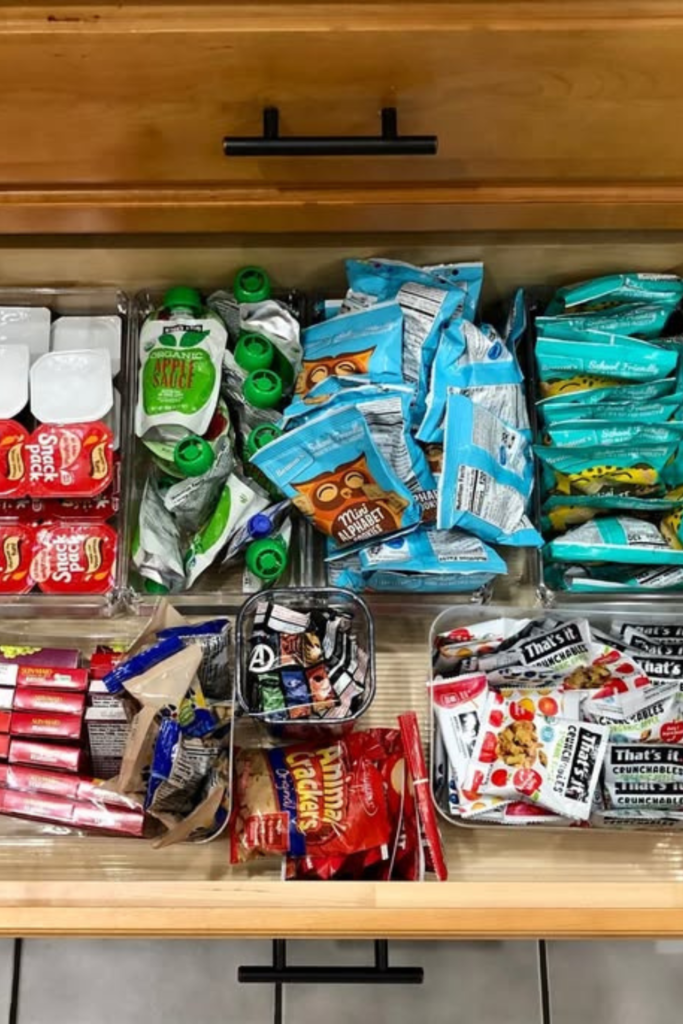
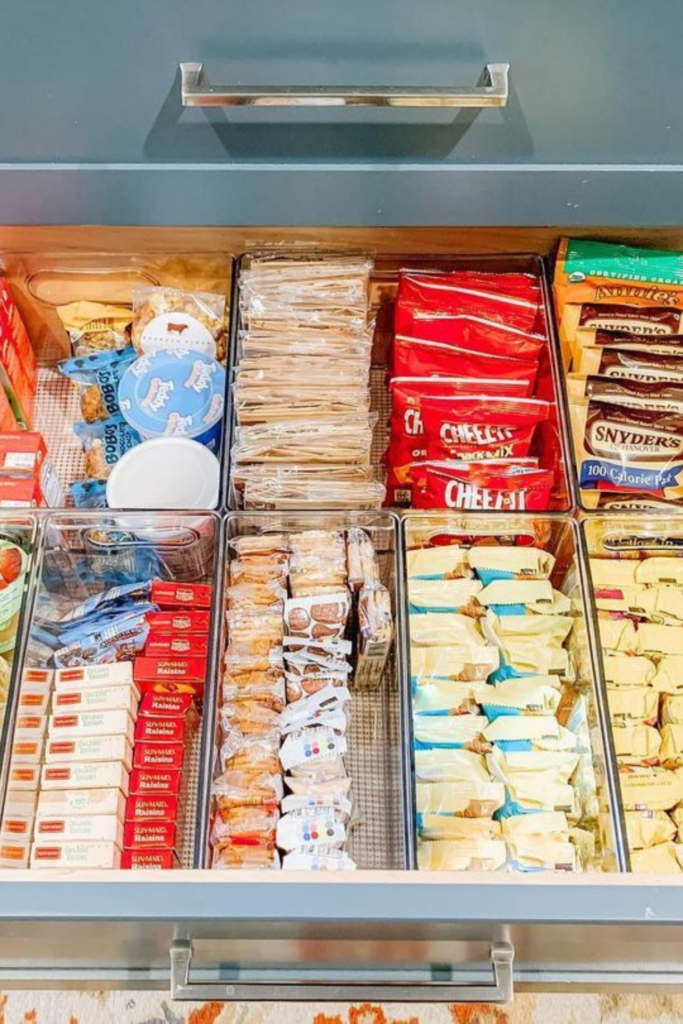
Daily Portions
Pre-packed snacks stay under control when each item has its own spot and limit. This setup works best.
Busy families who want quick choices, use slim, clear bins to separate bars, crackers, fruit cups, and pouches.
Refill during grocery restock, not daily. Even overhead lighting keeps everything visible, making it easy to grab and go.
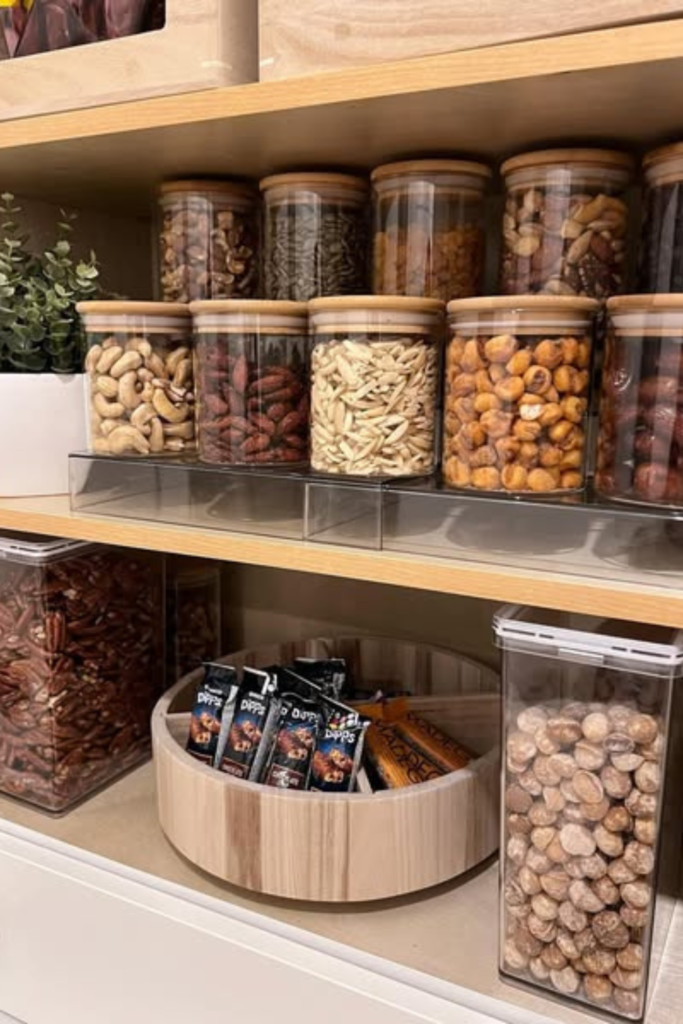
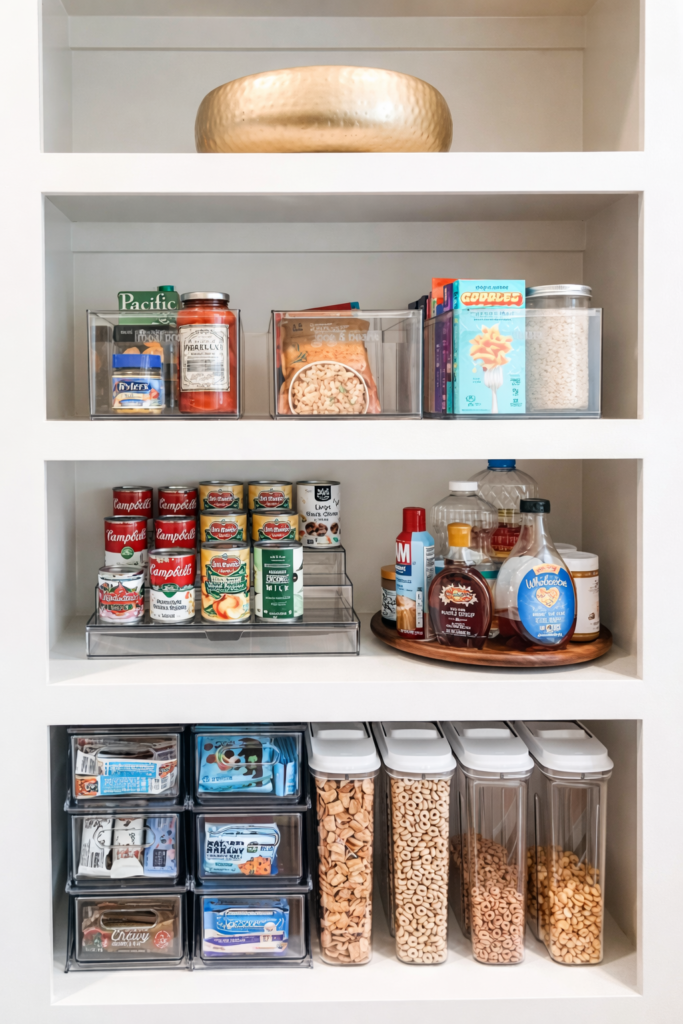
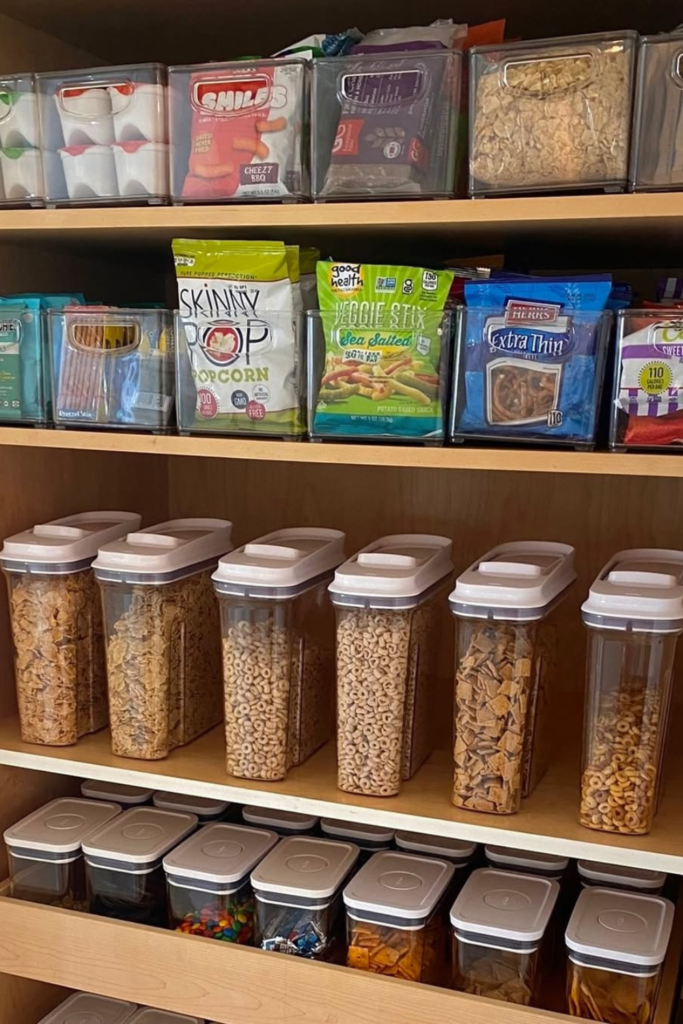
Snack Organization Shelf
Consistency keeps shelves from turning chaotic, and uniform containers make snacks feel intentional.
Clear jars on the upper shelf keep everything visible and accessible, while pull-out trays below handle packets.
Soft cabinet lighting and natural daylight together keep the shelf bright, easy to scan, and easy to grab, works well.
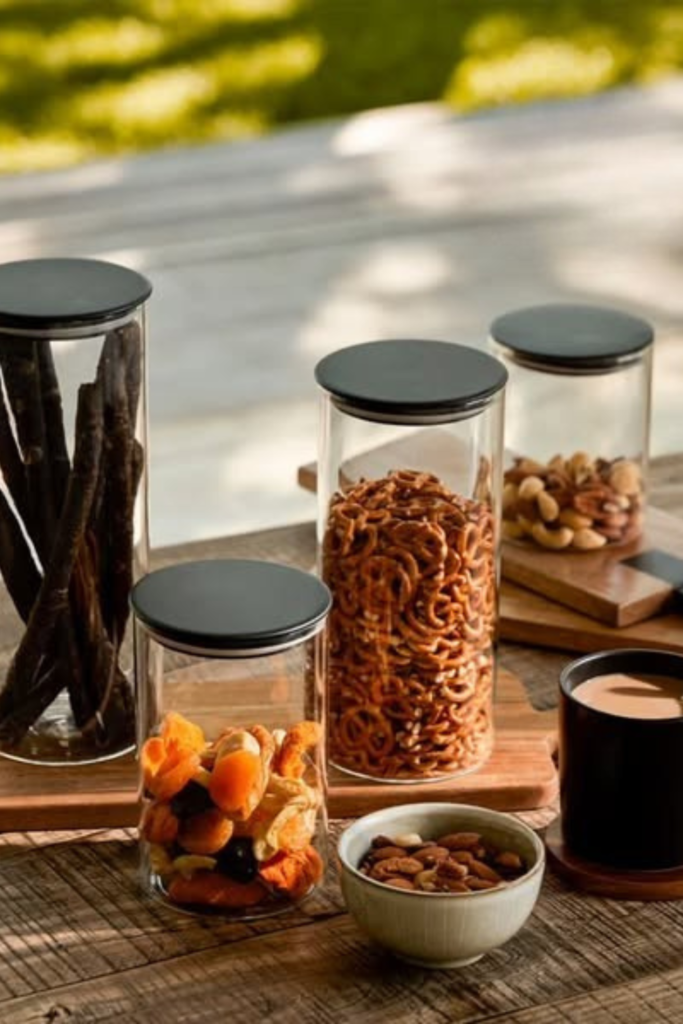
Counter Canisters
Frequently used snacks deserve a spot outside the pantry. Tall glass canisters work best on kitchen counters.
Where quick access matters more than hiding clutter. Stick to snacks that get refilled often, use matching jars.
Keep the surface looking calm. Natural daylight does most of the work here, with soft ambient light adding warmth in the evening.
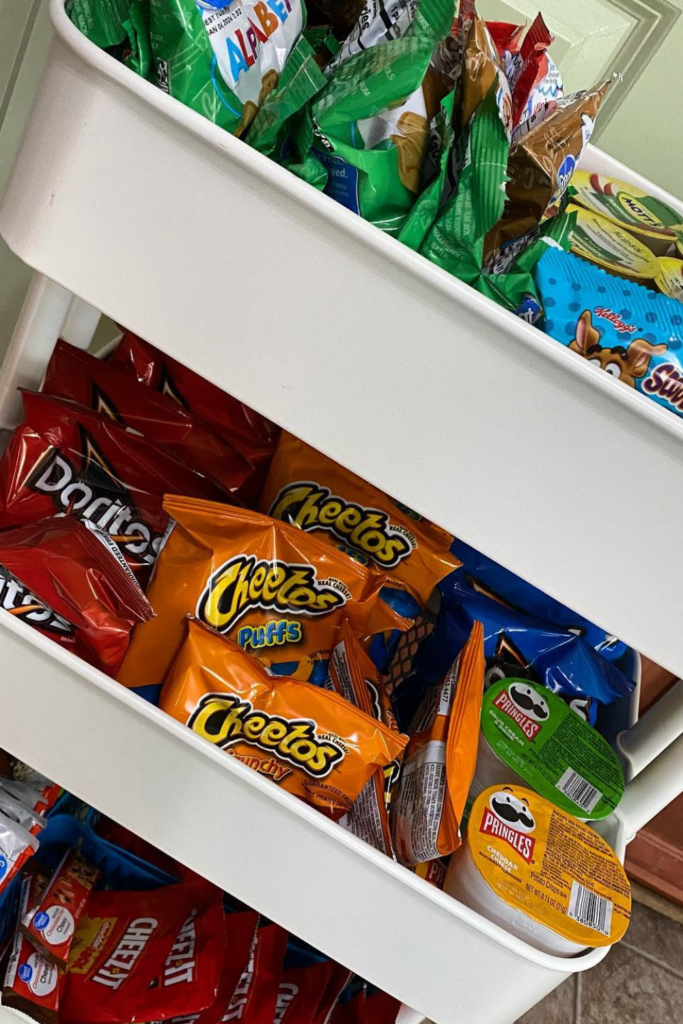
Snack Cart
Mobility solves space problems when cabinets are already full. A slim rolling cart is best for kitchens with limited storage.
Assign each tier a purpose, like chips on one level and bars or treats on another. Keep heavier items lower to keep the cart stable.
Overhead room lighting is enough here, since open sides let light hit everything naturally, this setup works well.
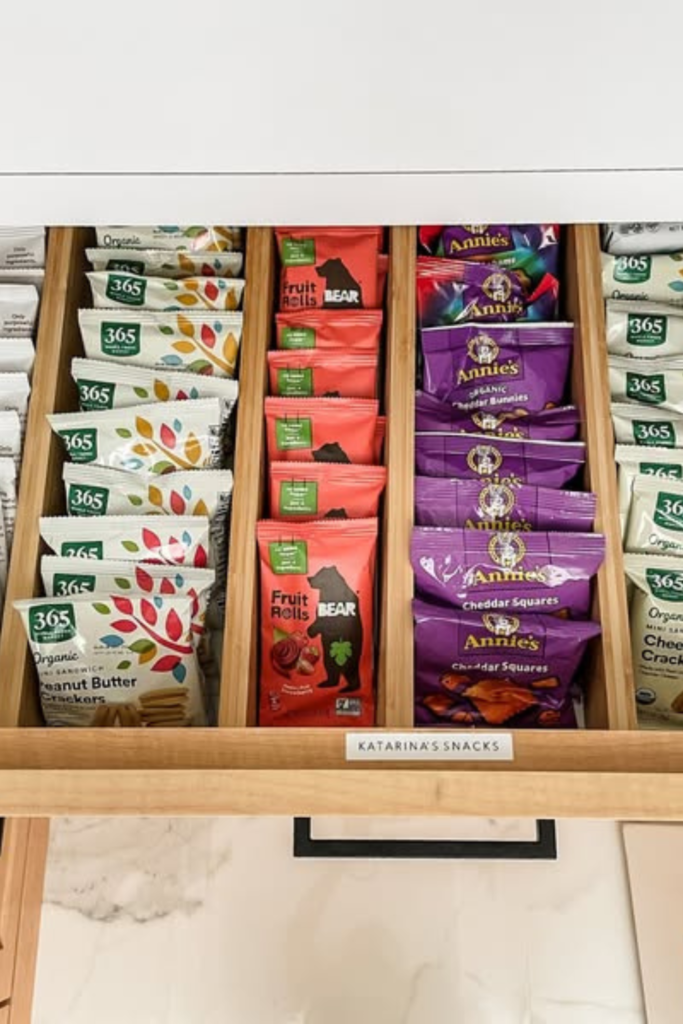
Snack Rows
Color-based rows make snack drawers easier to maintain and faster to restock, works best in shallow drawers.
Group similar snack types in straight lines. Wooden dividers keep rows from collapsing over time, works best.
Bright overhead kitchen lighting keeps labels readable and helps the colors do the organizing work for you.
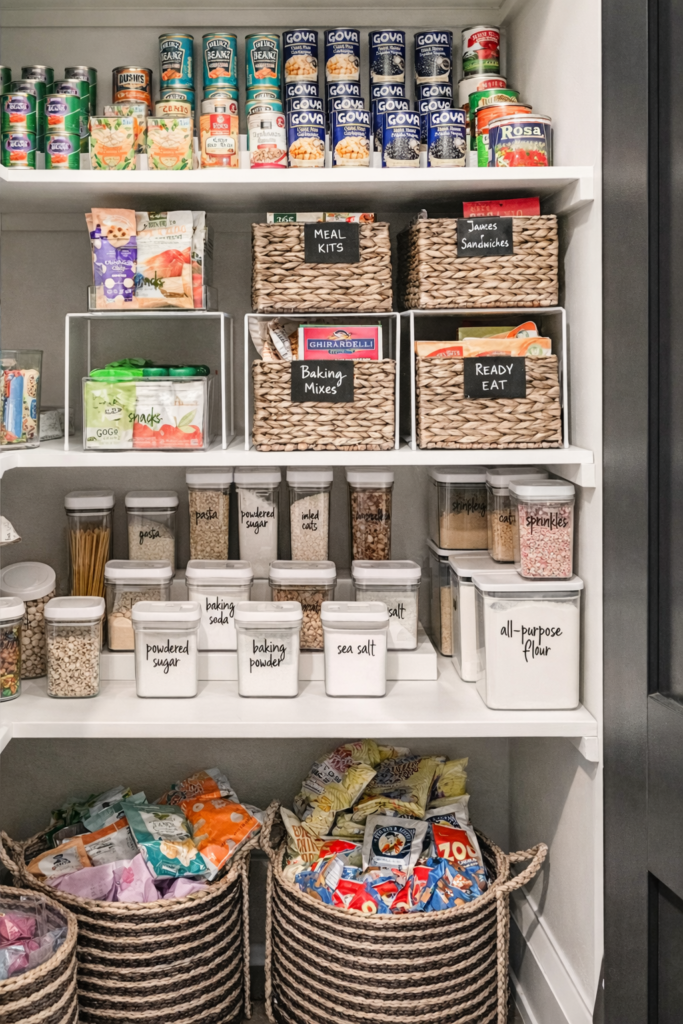
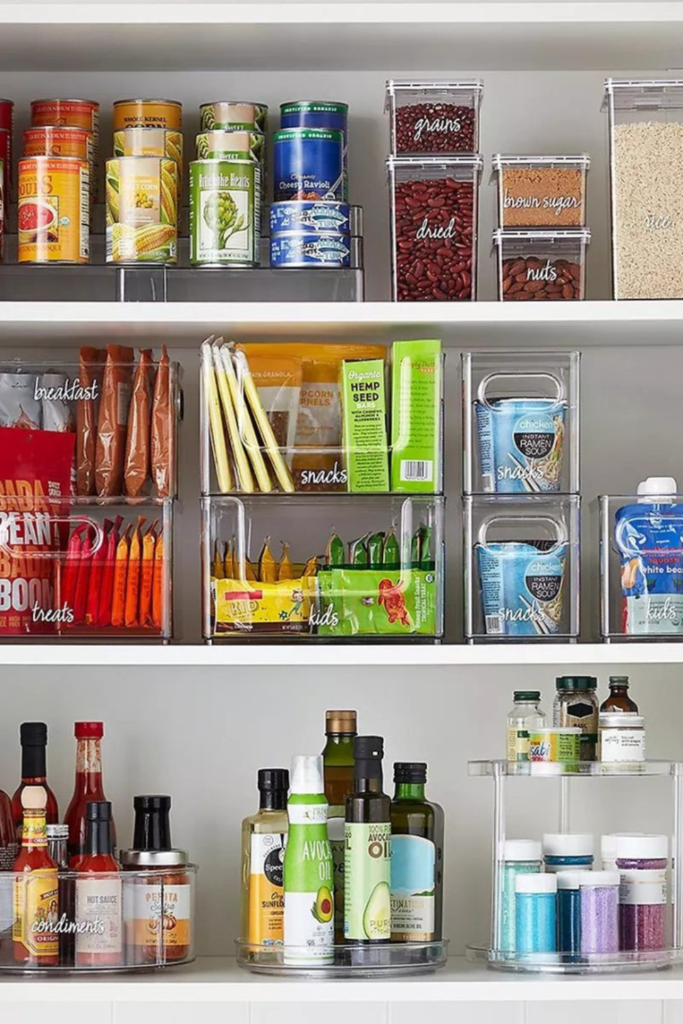
Snack Pantry Zones
Structure fixes clutter faster than containers alone. Assign one shelf just for snacks, then split it into clear zones.
Use baskets and bins for ready-to-eat, baking snacks. Labels keep everyone on track without the need for reminders.
Bright pantry lighting paired with natural spill-in light makes every zone easy to spot and maintain, this works.
Snack Shelf Stacking
Vertical spacing turns open shelves into reliable snack storage instead of a dumping zone. Use clear risers to lift smaller snack boxes and cans.
Trays keep bottles and loose packs contained. Balanced overhead lighting paired with natural room light keeps every shelf readable.
Snack Organization Cubes
Small compartments stop snack bars from sliding into one messy pile. Use wooden dividers to give each snack its own square.
Keeping refills under control. Restocking becomes visual instead of guesswork, works best in shallow drawers near the pantry.
Soft overhead drawer lighting paired with ambient kitchen light keeps everything easy to spot without opening every section.
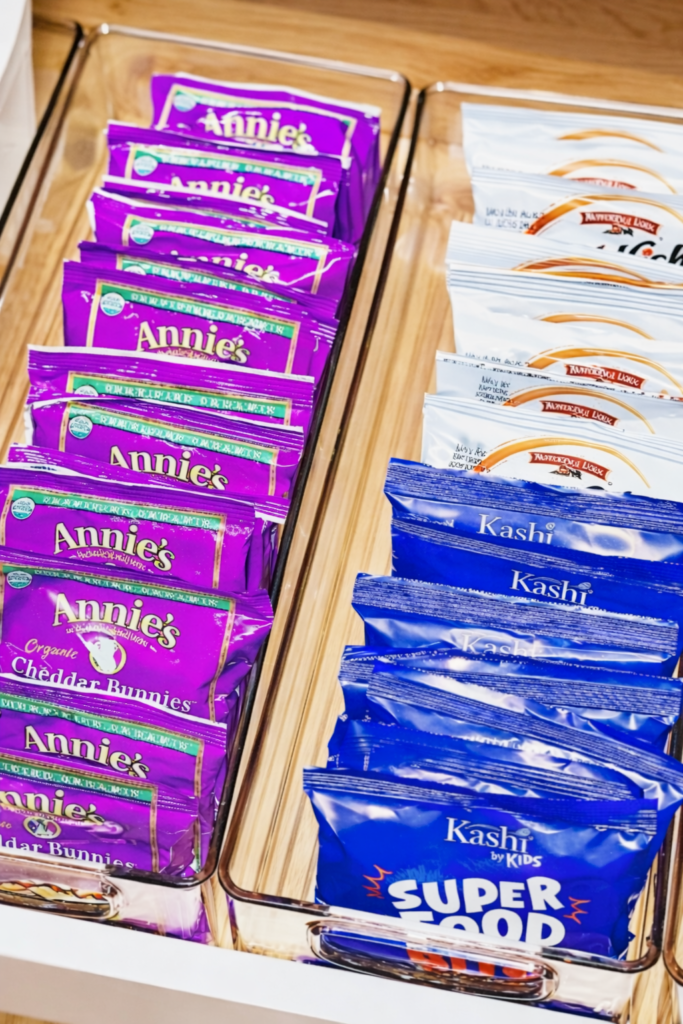
Snack Packet Lines
Flat snacks stay neat when packets are lined up. Use long, narrow bins to keep packets standing upright, nothing bends or falls beneath them.
Refill from the back to keep older snacks moving forward. Bright drawer lighting paired with natural kitchen light keeps labels clear.
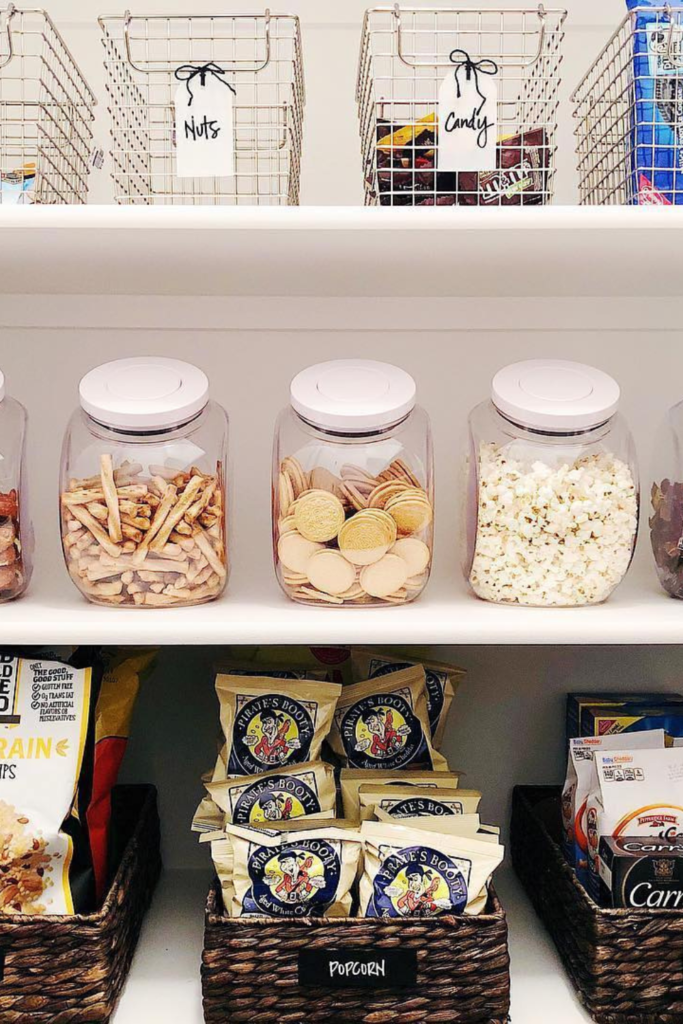
Snack Display
Visibility changes how snacks get used. Open shelving works best when snacks are meant to be seen and grabbed.
Clear jars handle loose items, while labeled baskets keep packaged snacks contained below, group similar snacks.
Even overhead shelf lighting paired with soft ambient room light keeps the display clean, bright, and easy to maintain.
Snack Drawer Lanes
Straight lanes keep snack drawers from collapsing into chaos. This setup works best in medium- to deep-drawers.
Where packaged snacks tend to slide and overlap. Use long acrylic or wooden dividers to create fixed channels.
Keep the rotation simple. Bright drawer lighting, combined with overhead kitchen light, makes every aisle easy to scan.
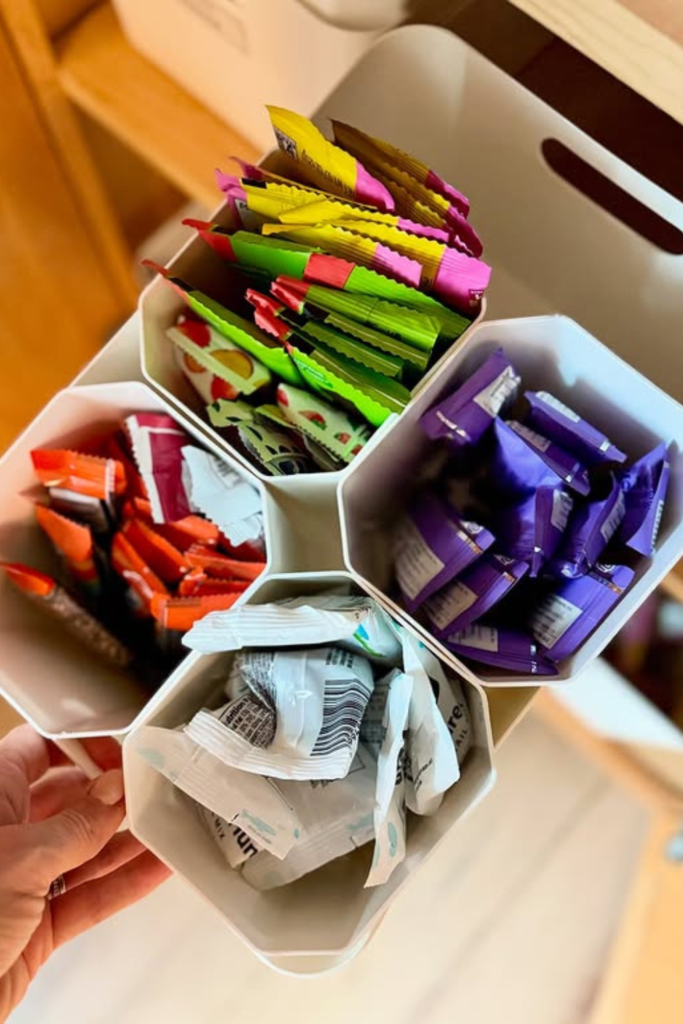
Snack Sorting Pods
Small snacks stay manageable when they’re sorted by type instead of tossed into one bin, best for drawers or on pantry shelves.
Use divided containers so each snack has its own pocket and refills stay clean. Keep similar sizes together.
Avoid bending wrappers. Soft ambient kitchen light is enough here, since the open-top design keeps everything visible.
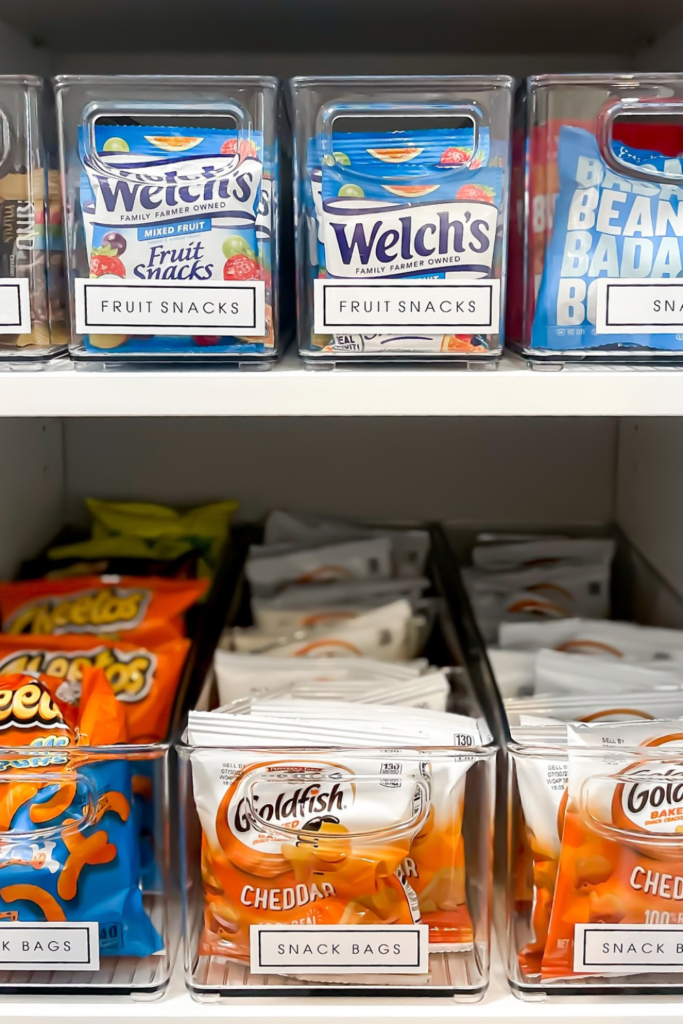
Labeled Snack Bins
Clear bins solve the “where does this go” problem instantly. Sort by snack type, not brand, so stay simple and flexible.
Front-facing labels keep everything self-explanatory, even for kids. This setup works best in pantry cabinets.
Bright shelf lighting paired with natural spill-in light makes labels easy to read and keeps the whole system low-maintenance.
Snack Category Shelves
Clear categories stop snacks from mixing with pantry staples and disappearing. Assign one shelf just for snacks.
Split by purpose like kids, treats, and quick bites using clear bins. Keep heavier items lower for balance, this works.
Bright pantry lighting, paired with natural light, makes labels easy to read and keeps the system easy to maintain.
Snack Container Grid
The order becomes automatic when every snack has the same footprint. Use matching square containers.
Rows stay tight, and nothing shifts when the drawer opens. Fill only to daily-use levels to avoid overstocking.
Soft drawer lighting combined with natural room light keeps everything visible without making the drawer feel crowded.
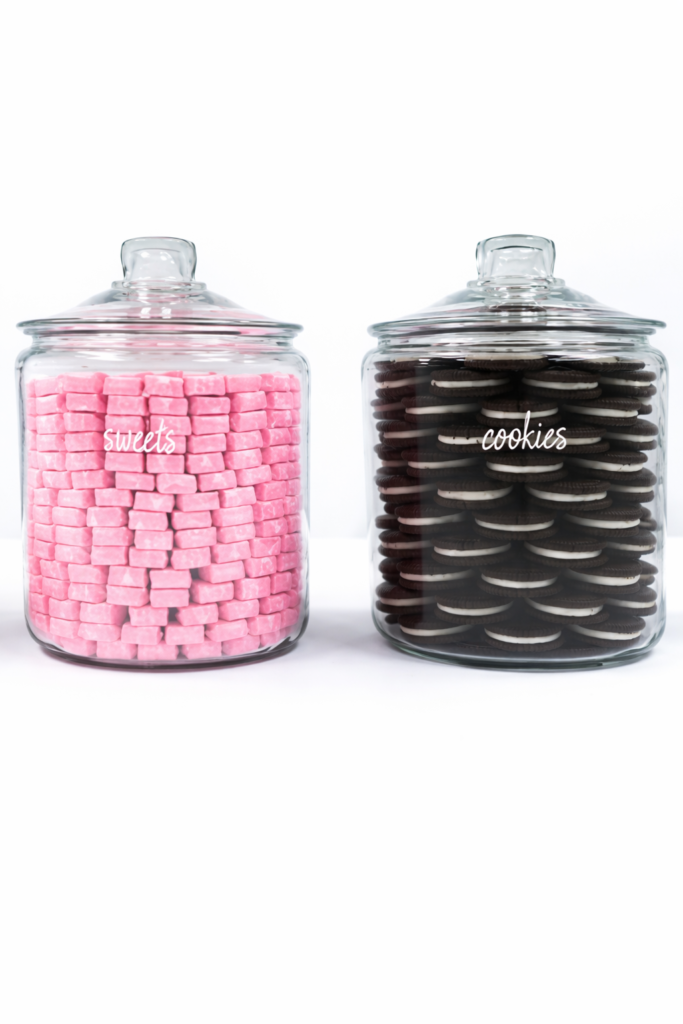
Snack Jar Lineup
Uniform jars turn loose snacks into an easy-to-manage system instead of visual clutter, best on open shelves.
Fill jars with snacks that hold their shape so stacking stays neat. Simple handwritten toggle-style labels.
Clean, even lighting from above makes the lineup feel intentional and keeps every jar easy to scan at a glance.
Snack Cabinet System
Clear containers turn a busy snack cabinet into something you can actually keep up with, works best in tall cabinets.
Different snack types usually get mixed together. Use matching containers for dry snacks and bins for packaged items.
Keep daily snacks at eye level and backups below eye level. Even cabinet lighting keeps labels readable.
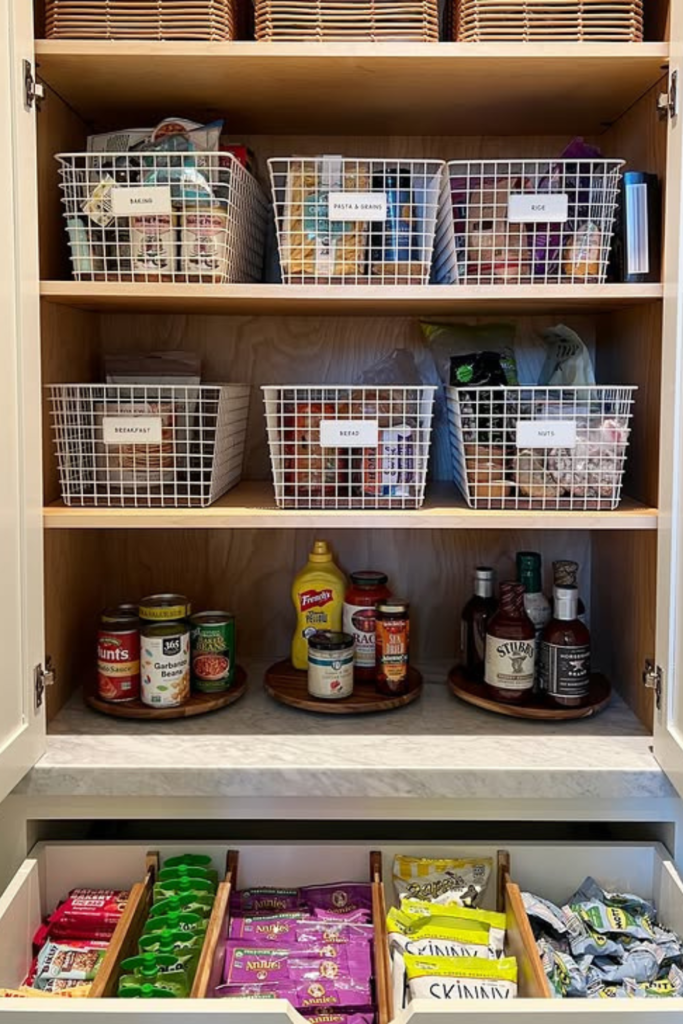
Snack Basket Zones
Wire baskets create instant structure when pantry shelves feel overwhelming. Assign one basket per snack type.
Everything stays grouped and easy to reset after use, best in tall cabinets where snacks share space with pantry staples.
Labels do the heavy lifting and stop guessing. Overhead pantry lighting combined with shelf-level light keeps contents visible.
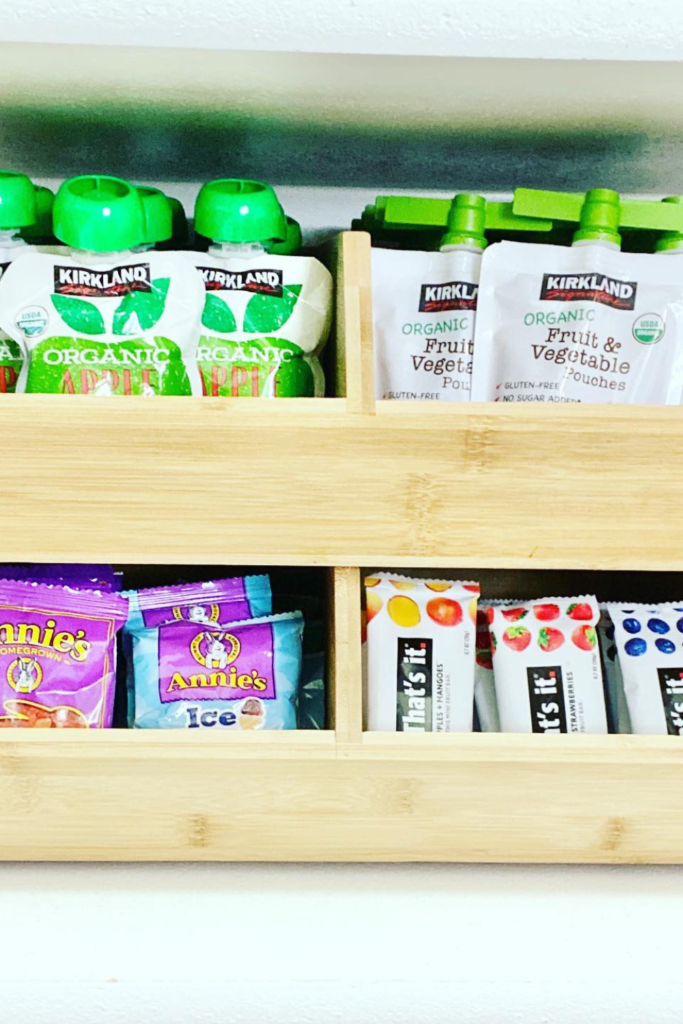
Snack Pouch Stand
Vertical stands stop soft pouches from falling over and disappearing. Use tiered bamboo or acrylic organizers.
Every pouch faces forward and stays easy to grab. Keep heavier pouches on the bottom row for balance.
Soft overhead pantry lighting keeps labels visible, while natural light helps you spot low stock quickly.
Snack Drawer Blocks
Blocks create order without overthinking the system. Use clear rectangular bins to form solid sections.
Each snack type holds its shape even when half full. Keep similar package sizes together for clean lines.
Even with drawer lighting combined with overhead kitchen light, every block is easy to spot and refill.
FAQs
How do you keep snacks organized long-term?
Snacks only stay organized when the system matches how you actually use them. If restocking feels complicated, it won’t last.
Keep categories simple, limit the number of snacks per bin, and reset during grocery restock rather than daily.
When everything has a clear space and a natural stopping point, the mess doesn’t come back as fast.
What’s the best way to organize snacks in a small kitchen?
Small kitchens work better with vertical and drawer-based systems instead of wide spreads. Use deep drawers, stackable bins, or rolling carts.
Snacks don’t compete with cookware. Keeping all snacks in one defined zone matters more than having multiple containers spread across cabinets.
You may like to read!
- 26 Dresser Organization Ideas
- 24 Family Organization Wall
- 22 Junk Drawer Organization
- 22 Cord Organization Ideas
- 23 Skincare Orgaization Ideas

Fasial is the founder of the Fizzy Flare. He has been a passionate blogger since 2021. He ran three different websites in the past few years. Now he is focusing on Fizzy Flare to build an audience and help them organize their life.