Rolling Under Bed Storage DIY for Small Apartments
This post may contain affiliate links: full affiliate disclosure.
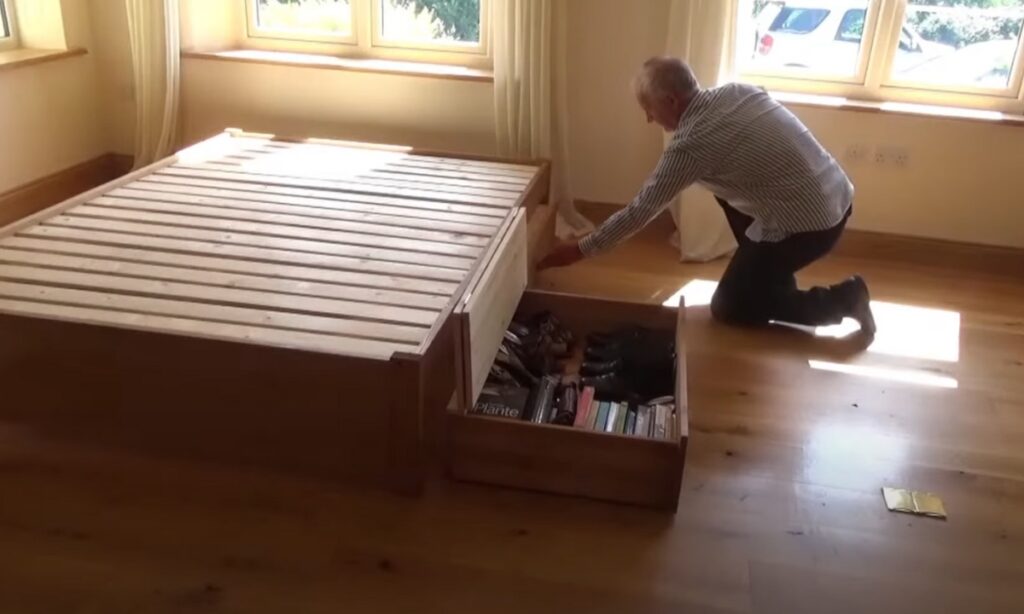
Are you tired of pulling out a mess from under your bed?
Maybe you have tried flimsy plastic bins that jam or cardboard boxes that fall apart after a while.
You want to make use of that empty space, but nothing seems to fit properly or slide out easily – especially if you have carpet or a low bed frame.
Here is the good news: you can build your own sturdy rolling storage that fits perfectly, works on any floor, and looks great too.
And the best part? You can do it even if you have never built anything before.
Contents
Why You Need Rolling Under Bed Storage
If you feel like you are running out of space in your bedroom, you are not alone.
Many people overlook the empty space under the bed, but it is a great spot to store things out of sight and off the floor.
Rolling storage makes it easy to slide your items in and out without any trouble.
You can use it to store your shoes, clothes, toys, or anything you do not need every day.
It helps you keep your room organized and prevents clutter from taking over your closet or shelves.
Moreover, when you build your own, you can customize the size according to your bed and design it to match your room.
Related: How to DIY Pegboard Tool Organizer
Tools and Materials You’ll Need
Before you start, gather everything you need in one place. You do not need any fancy tools – just a few basic ones will get the job done.
Tools:
- Tape measure
- Saw (hand saw or circular saw)
- Drill and screwdriver
- Sandpaper or a sanding block
- Pencil
- Paintbrush (if you plan to paint or stain)
Materials:
- Plywood or sturdy wooden boards (for the box)
- Four swivel caster wheels (choose rubber or nylon, especially if you have carpet)
- Wood screws
- Wood glue (optional but adds extra strength)
- Handle or drawer pull (this can be a cabinet handle, rope, or even a leather strap)
- Paint, stain, or peel-and-stick wallpaper (if you want to customize the look)
That is all you need to build a simple and sturdy rolling storage box.
Save this article for later! 👇👇
Related: How to Build a Floating Shelf by Yourself
How to Measure for a Perfect Fit
- Measure the Height: You have to take measurements from floor to bottom of your bed frame, for that you can use tap measure. Subtract about one inch to make sure the box and wheels can move freely.
- Check the Length and Width: You also need lenth and width of the space under your bed. Avoid areas that are blocked by bed legs or support bars.
- Plan Around Obstacles: Look for anything under the bed that could get in the way, like support beams or items already stored there.
- Choose Your Box Size: Now you have to decide how big storage box you want. But you have to remember that must leave some space on each side so it can move easily.
- Write Down the Numbers: The most important thing is you must write down all of your measurements before even cutting wood or buying materials. In this way, you will avoid any mistakes.
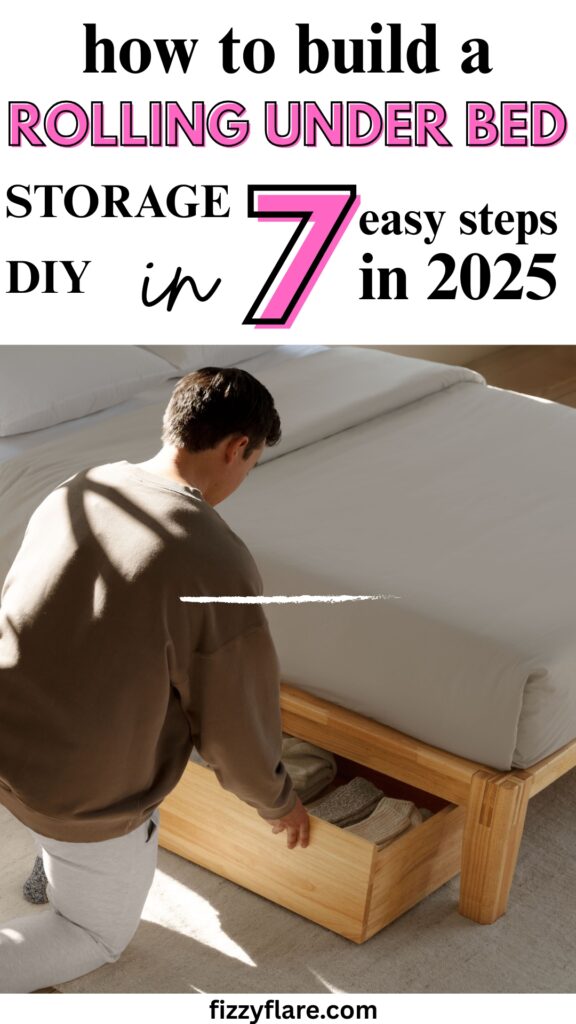
Step-by-Step: Making a Rolling Under Bed Storage Box
Step 1: Cut the Wood
Use your measurements to mark and cut the plywood or wooden boards for the bottom and sides of the box. Check your numbers carefully before making any cuts.
Step 2: Sand the Edges
Now you have to remove any rough edges and for this you have to sand the suface perfectly. This will stop splinters and give the box a clean and tidy appearance.
Step 3: Build the Box
Attach the side pieces and bottom piece with the help of screws and a drill. Run a line of wood glue along the edges before securing screws and it will add strenght to the structure.
Step 4: Attach the Casters
Flip the box over and attach a caster wheel to each corner. Check that the wheels turn smoothly and are securely tightened.
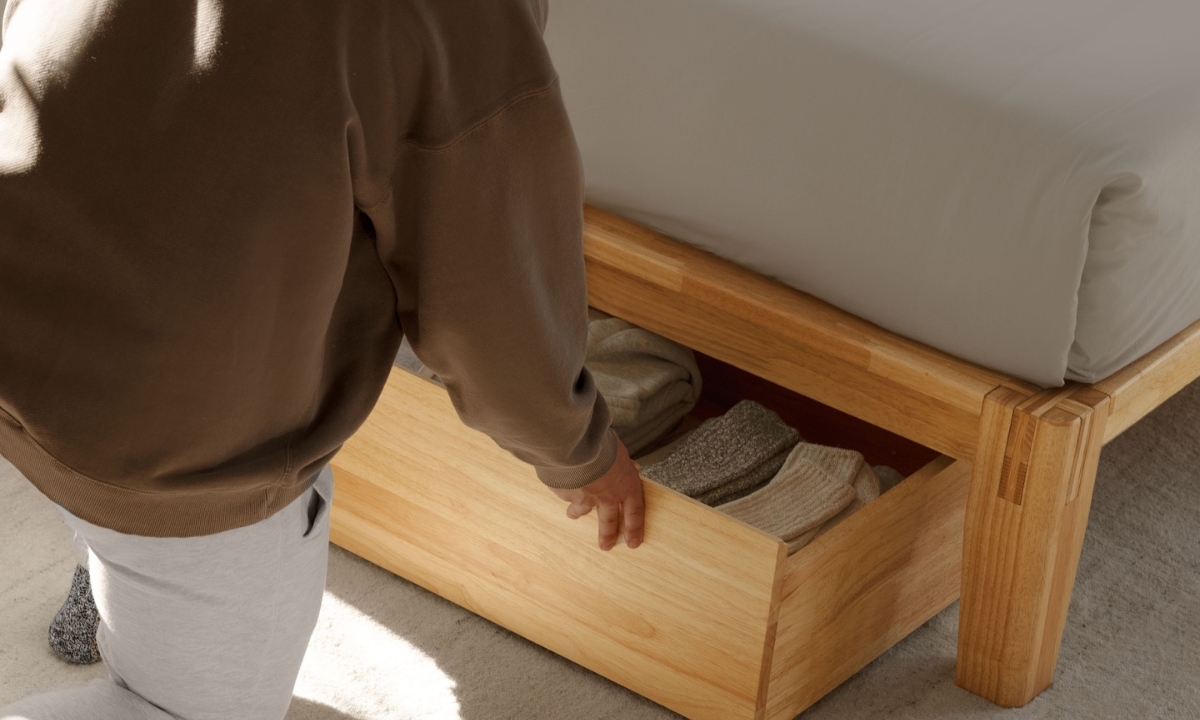
Step 5: Add a Handle
Turn the box upright and attach the handle or pull to the front. This makes the box easy to slide out from under your bed.
Step 6: Finish the Look (Optional)
Paint, stain, or decorate your box if you want it to match the style of your room. You can also line the inside with peel-and-stick wallpaper or fabric for an added touch.
Step 7: Load Up and Roll
Let everything dry completely if you painted or glued anything. Once it is ready, pack your items inside, slide the box under your bed, and start enjoying your new storage space!
Mistakes to Avoid for a Smooth DIY
| Mistakes | How to Avoid |
| Measuring wrong | Subtract one inch from the height and double-check the width and length. |
| Ignoring bed legs/support bars | Measure around any obstacles before you start building. |
| Using weak or thin wood | Use strong plywood or solid boards to make the box sturdy. |
| Choosing the wrong wheels | Choose rubber or nylon caster wheels for smooth rolling on all types of floors. |
| Skipping sanding/finishing | Sand all edges and corners, then add paint or stain to make it last longer. |
| Not securing wheels well | Tighten the caster screws securely and add extra screws if needed. |
| Overloading the box | Avoid filling the box with heavy items if the wheels or wood are lightweight. Spread the weight evenly. |
Problems People Face With Under Bed Storage
- Most store-bought bins are either too tight to pull out or leave wasted space under your bed.
- Cheap plastic bins crack easily, and cardboard boxes cannot handle dust or daily use.
- Hard wheels make loud noises on wood floors or refuse to roll on carpet.
- You end up shoving and rearranging boxes that never seem to fit right.
- Low bed frames make it hard to use store-bought storage without scraping your hands or the floor.
- Pulling things out feels like a chore, and you should not have to crawl on the floor to find a missing sock.
- Dust builds up quickly, leaving your storage musty or turning it into a sneeze trap.
Conclusion
You do not have to deal with messy, wasted space under your bed or struggle with bins that do not fit or move.
With a little time and some basic tools, you can make your own rolling storage that makes life easier.
It is a smart way to get organized, keep your things tidy, and free up space in your closet or on your shelves. You can size it correctly and design it to match your style.
Start small, follow the steps, and you will have strong, smooth storage that works for you – no more crawling around or digging for lost items.

Fasial is the founder of the Fizzy Flare. He has been a passionate blogger since 2021. He ran three different websites in the past few years. Now he is focusing on Fizzy Flare to build an audience and help them organize their life.