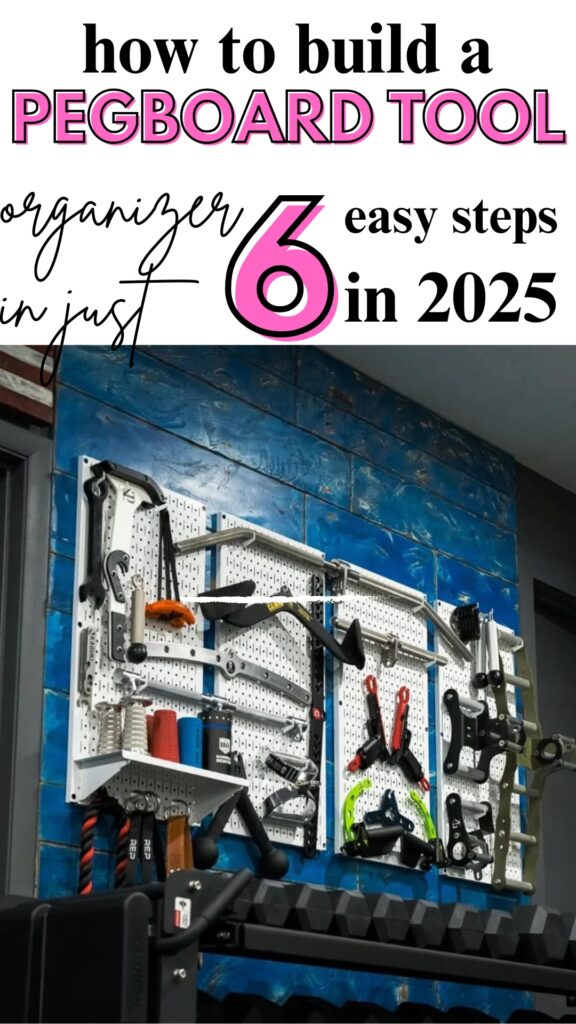
How to Make a DIY Pegboard Tool Organizer – Ultimate Guide
This post may contain affiliate links: full affiliate disclosure.
If you are tired of searching through piles of tools to find your hammer or screwdriver, you are not alone.
A messy workspace slows you down, wastes your time, and makes any project more stressful than it needs to be.
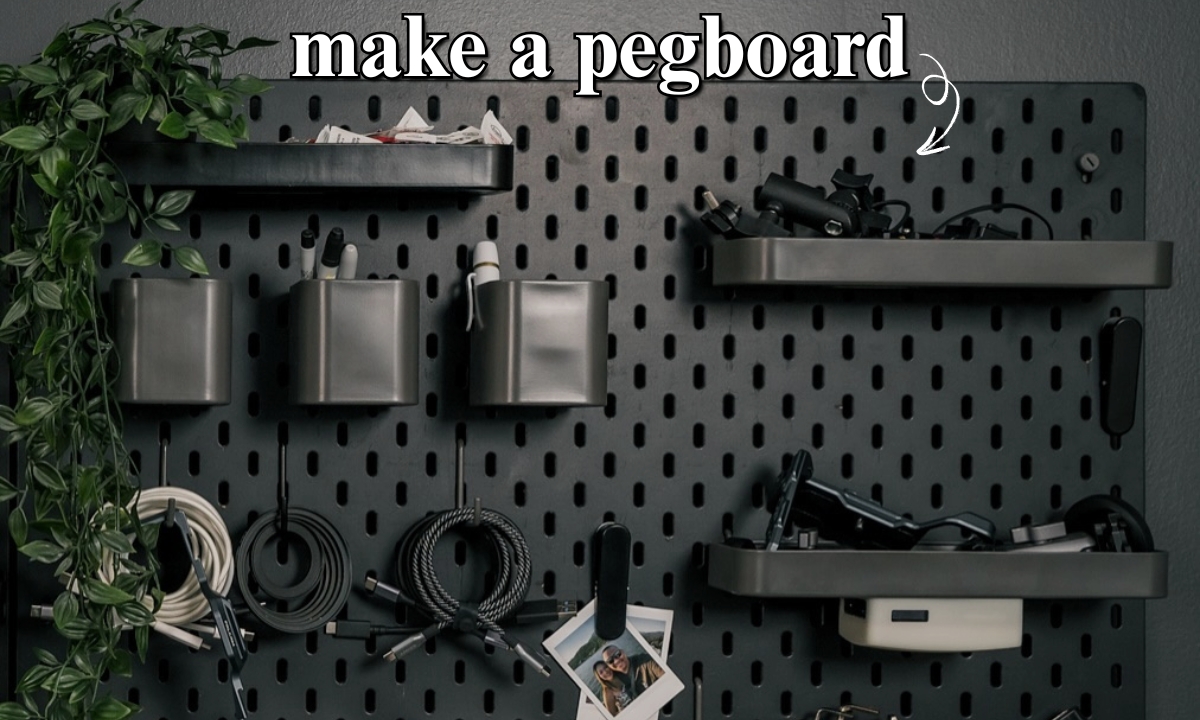
A pegboard tool organizer can solve this problem. With a few simple supplies, you can turn a cluttered wall into a neat, organized space.
Here is how you can do it – even if you have never built anything before.
Let’s jump in!
Contents
- 1 What You Need to Get Started
- 2 Step 1: Choose the Best Spot
- 3 Step 2: Prepare Your Pegboard and Wall
- 4 Step 3: Mount Your Pegboard
- 5 Step 4: Pick the Right Hooks and Accessories
- 6 Step 5: Organize Your Tools
- 7 Step 6: Keep It Tidy and Up-to-Date
- 8 Common Mistakes and How to Fix Them
- 9 Real-Life Benefits You’ll Notice
- 10 Conclusion
What You Need to Get Started
To get started, gather a few basic items. Choose a pegboard sheet that fits the space you have in mind.
You will need some wood strips or spacers to create a small gap between the board and the wall.
Get some screws and wall anchors to keep everything secure. Have a drill, a screwdriver, a measuring tape, and a pencil ready.
Make sure to grab a level to ensure the board goes up straight. Pick out a few hooks or bins to hold your tools.

Step 1: Choose the Best Spot
Find a wall or space close to where you work. Make sure it is easy to reach and has enough room for your pegboard and tools.
Check the wall carefully for any wires or pipes before you start drilling. You have to try a stud finder to locate the studs so the pegboard has a stronger hold.
Now select a spot where you can easily see and grab your tools without knocking into other things. Once you have chosen your spot, move on to the next step.
Step 2: Prepare Your Pegboard and Wall
Measure your wall and the pegboard to make sure everything fits the way you want. If the pegboard is too large, cut it down to size using a saw.
Decide where you want the board to go use pencil to mark those areas on wall.
Take your wood strips or spacers and screw them into the wall where the pegboard will be placed.
This gap is important because it allows the hooks to fit into the holes. Make sure the strips are straight and level.
If you want to paint the pegboard, do it now and let it dry completely before moving forward. Once the wall and the board are ready, you can hang the pegboard.
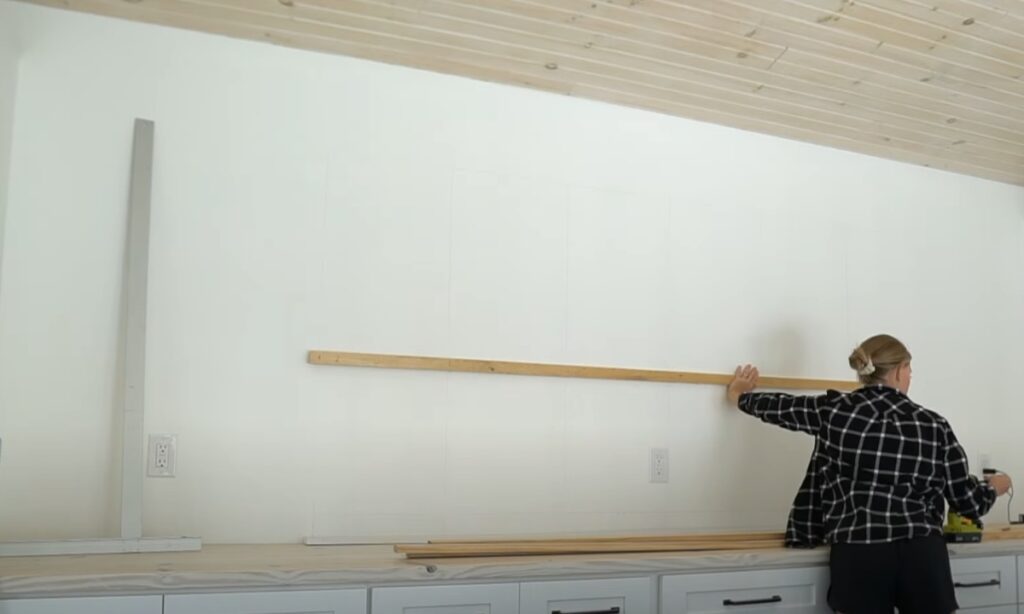
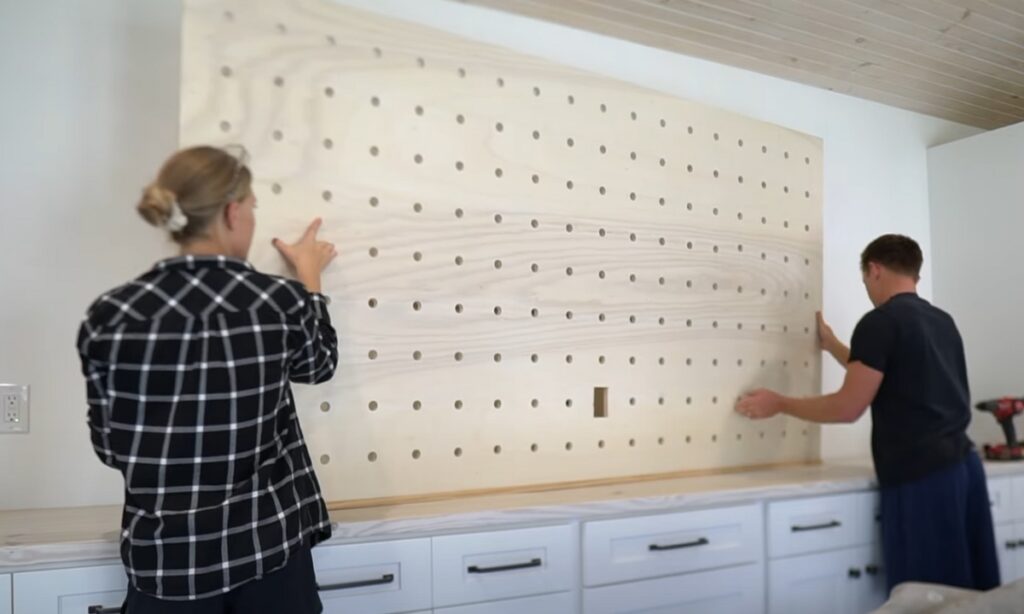
Step 3: Mount Your Pegboard
Hold the pegboard against the wall and line it up with the wood strips or spacers. Use a level to make sure the board is straight.
Drill screws through the pegboard into the wood strips at each corner and along the edges.
Place screws every 12 to 16 inches to keep the board flat and steady. Check that everything feels secure.
If the board wobbles, tighten the screws. Now the pegboard is firmly in place and ready for you to add hooks and tools.
Step 4: Pick the Right Hooks and Accessories
Now it is time to pick hooks and holders for your tools. Start with the basics.
Most toolkits need a few straight hooks for items like hammers and screwdrivers, some curved hooks for pliers or tape, and a couple of bins for small items like screws or drill bits.
Take a look at your tools and choose hooks that match their size and shape. Go for sturdy metal hooks instead of plastic ones – they are stronger and last longer.
Do not rush to buy every type of accessory right away. Add more hooks, bins, or special holders later as you figure out what works best for your setup.
Keep it simple at the start so you do not feel overwhelmed.
Step 5: Organize Your Tools
Group similar tools together to keep things organized. Hang all your screwdrivers in one place, keep pliers together, and arrange wrenches side by side.
Place the tools you use most often in the center so you can grab them quickly.
Put heavier tools on the lower part of the board where they are easy to reach and will not make the board unstable.
Use small bins for items like nails or drill bits, and keep these bins close to the tools they match.
If you are short on space, hang only the tools you use often and store the rest somewhere else.
When your collection grows, adjust the hooks and bins to make room for new tools.
The pegboard makes it simple to move things around whenever you need to.
Related: How to Build a Floating Shelf by Yourself
Step 6: Keep It Tidy and Up-to-Date
Make it a habit to hang each tool back on its hook as soon as you finish using it.
This keeps your board neat and saves you from wasting time looking for tools later.
If you get a new tool, find an empty spot or rearrange the hooks to make room.
Do not leave tools piling up on your workbench – hang them right away.
Every month or so, take a quick look at your pegboard and shift things around if you can find a better arrangement.
This keeps your setup useful and prevents clutter from building up again.
Common Mistakes and How to Fix Them
Here are few common mistakes that most of people do while they try to build pegboard:
| Mistakes | Solutions |
| The board is crooked | Always use a level to make sure the pegboard is straight before you drill and mount it. |
| The pegboard feels loose or wobbly | Make sure you screw into wall studs or use sturdy wall anchors. |
| Too much weight on the board | Hang heavy tools close to the supports or on the lower hooks. Do not put too much weight on the board. |
| Hooks keep falling out | Try a different style of hook or push them in firmly to make them fit tighter. |
| Skipping spacers behind the board | Always use wooden strips or spacers to ensure the hooks fit correctly. |
| Not checking for wires or pipes | A stud finder is perfect for locating the studs in the wall. Double-check the spot to make sure it is safe before you start drilling. |
Fix these common problems as soon as you spot them to keep your pegboard safe and tidy.
Save this article for later! 👇👇
Real-Life Benefits You’ll Notice
- You will spend less time looking for tools because everything has its own place on the pegboard. This lets you grab what you need quickly and keep your project moving.
- Your workspace will look tidier and more professional. With tools off the bench and floor, you have more space to work and less clutter to distract you.
- You will save money by not buying tools you already own. With your collection in clear view, you always know exactly what you have.
- Finishing projects will be faster and easier with organized tools. You will not have to stop and search for a missing wrench or drill bit, keeping your momentum going.
- You will feel less stressed and more motivated to get to work. A clean, organized space makes it easier to start new tasks and enjoy your time in the garage or workshop.
Conclusion
Putting up a pegboard tool organizer is one of the simplest ways to clean up a messy workspace.
You do not need special skills or expensive tools – just some time and the right steps.
When you hang your tools and see everything organized, you will notice how much easier it is to get your work done.
If you are ready to spend less time looking for tools and more time building, start your pegboard project today. You will be glad you did.

Fasial is the founder of the Fizzy Flare. He has been a passionate blogger since 2021. He ran three different websites in the past few years. Now he is focusing on Fizzy Flare to build an audience and help them organize their life.