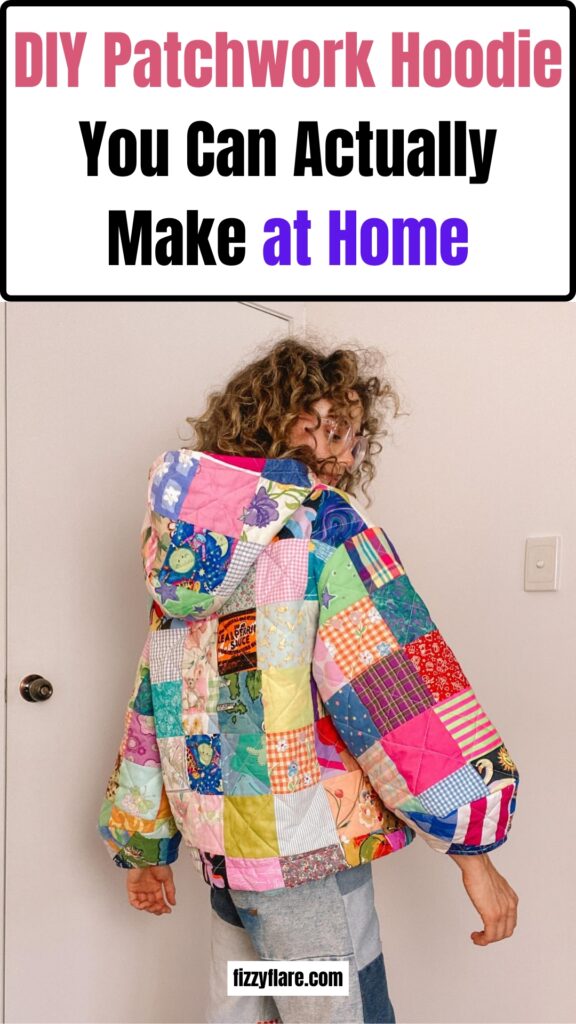
DIY Patchwork Hoodie You Can Actually Make at Home

This post may contain affiliate links: full affiliate disclosure.
You have probably seen those patchwork hoodies online and thought, “I want one like that.”
Then reality sets in: fabric scraps everywhere, seams that refuse to lie flat, and the big question, should you sew patches onto a hoodie or make the hoodie from scratch?
Most tutorials skip over this, leaving you stuck and frustrated.
In this article, I will show you how to prepare fabric, choose the right method, avoid bulky seams, and create a hoodie that looks great and feels comfortable, and lasts a long time.
If you want to purchase ready made patchwork hoodie then you can [check out on Aamzon].
Contents
- 1 8 Simple Steps to Make a DIY Patchwork Hoodie
- 1.0.1 1. Take the “before” and choose your fabrics
- 1.0.2 2. Make or trace your pattern
- 1.0.3 3. Deconstruct and sort materials
- 1.0.4 4. Plan your design layout
- 1.0.5 5. Create patchwork panels
- 1.0.6 6. Sew the hoodie body together
- 1.0.7 7. Attach the hood and waistband
- 1.0.8 8. Finish seams and reveal the hoodie
- 1.1 What Mistakes Should You Avoid?
- 1.2 Conclusion
- 1.3 FAQs
What Materials Do You Need to Start?
- Old hoodies, sweatshirts, or thrifted tees
- Fabric scraps in matching or contrasting colors
- Hoodie pattern (or an old hoodie to trace)
- Fabric scissors or rotary cutter
- Pins or fabric clips
- Sewing machine (regular machine with zigzag or stretch stitch is fine)
- Polyester thread
- Measuring tape or ruler
- Clear elastic or knit stay tape (optional, for strong seams)
- Ribbing or waistband elastic (for finishing)
- Iron and ironing board
Save this article for later! 👇👇
8 Simple Steps to Make a DIY Patchwork Hoodie
1. Take the “before” and choose your fabrics
Start by taking a photo of the original shirt to show how it transforms.
Next, gather old hoodies, sweatshirts, or thrifted clothes that match the colors in your graphic tee.
Choose fabrics you are okay with cutting pieces with flaws or stains that work perfectly.
2. Make or trace your pattern
If you do not have a hoodie pattern, use an old crewneck or hoodie that fits you well as a guide.
Trace it to create your pattern. Keep the sleeves, hood, and waistband from old hoodies intact. This makes them easier to reuse.
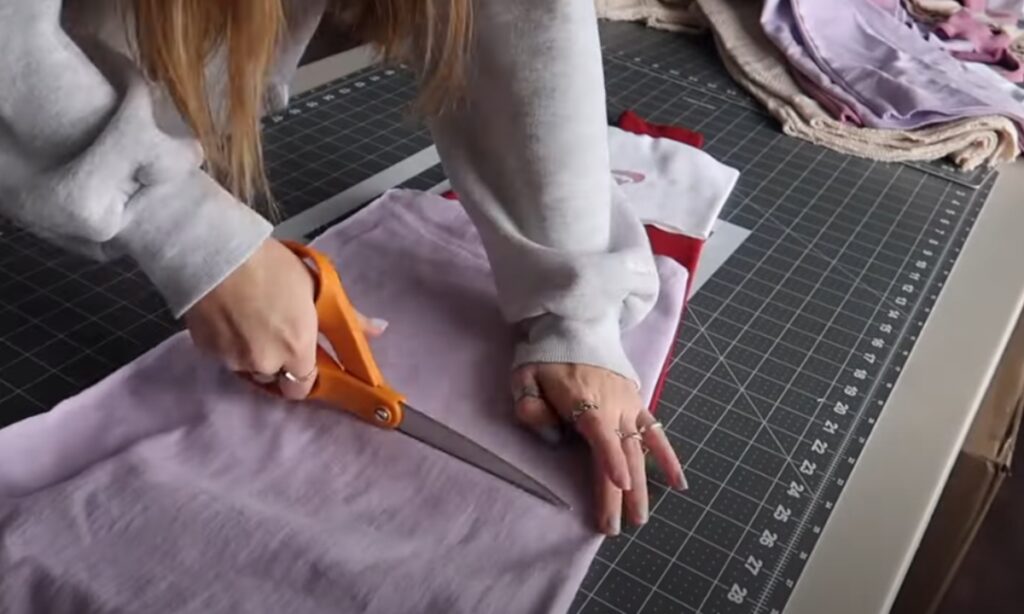
3. Deconstruct and sort materials
Cut along the seams to open each garment. Skip removing seams unless it is for a zipper.
Sort the pieces into separate piles: fronts and backs, sleeves, hoods, waistbands, and graphics.
Start with the hood and pocket to check if they can be used for your new hoodie.
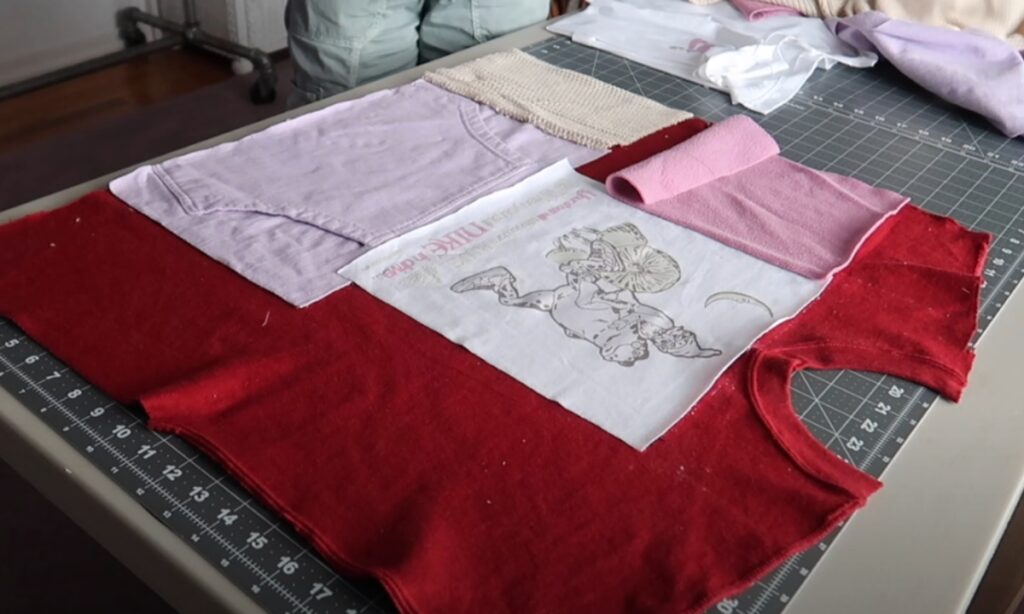
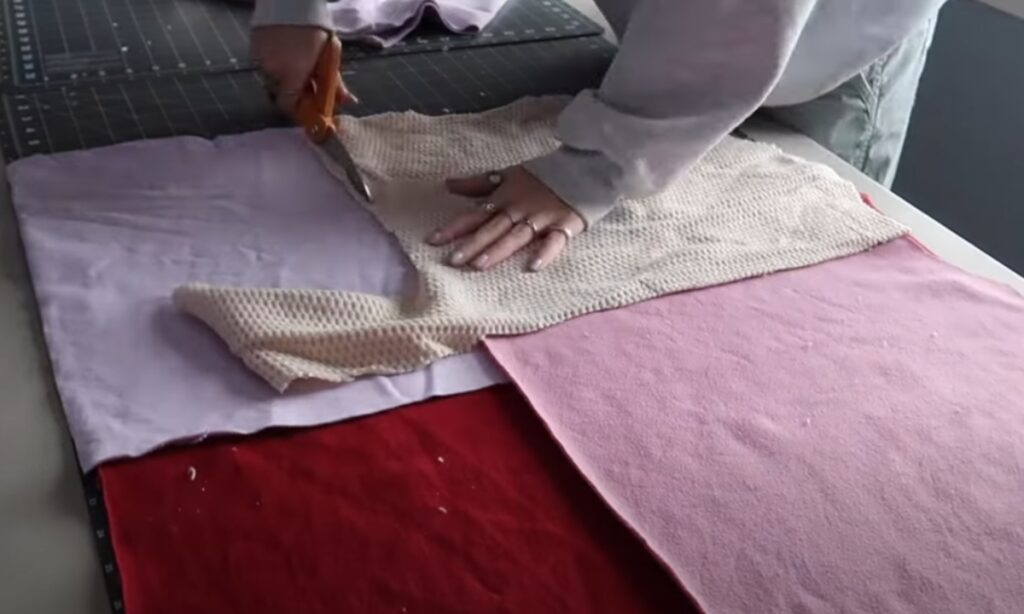
4. Plan your design layout
Lay out your cloth pieces before you start sewing. Begin with the pocket, it creates the mood for your project.
Put the graphic in the center and arrange patches around it. Make patches big enough for neat lines but small enough to avoid a chunky appearance.
Never let the same color touch another patch of the same color, and always leave room for seam allowance.

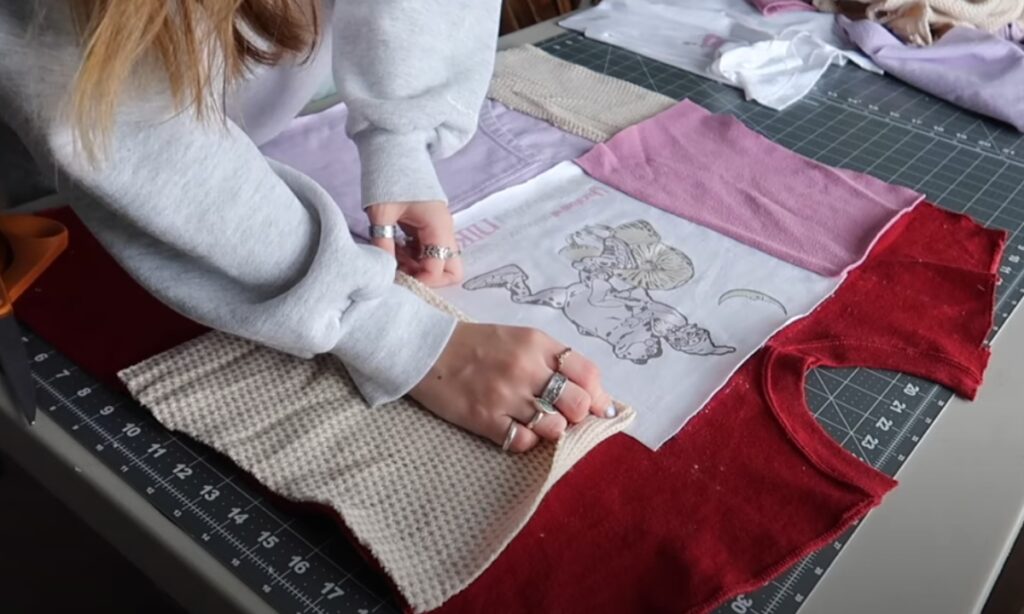
5. Create patchwork panels
Join your fabric scraps together to create larger panels for the front, back, and sleeves.
Keep all your seams straight so they line up properly. Press down each seam right after you sew it.
Check each piece of fabric as you work. If any fabric feels too thin, add a second layer underneath to keep your hoodie the same thickness throughout.
6. Sew the hoodie body together
After your panels are ready, cut your pattern pieces from the fabric. Next, join the front and back pieces at the shoulders.
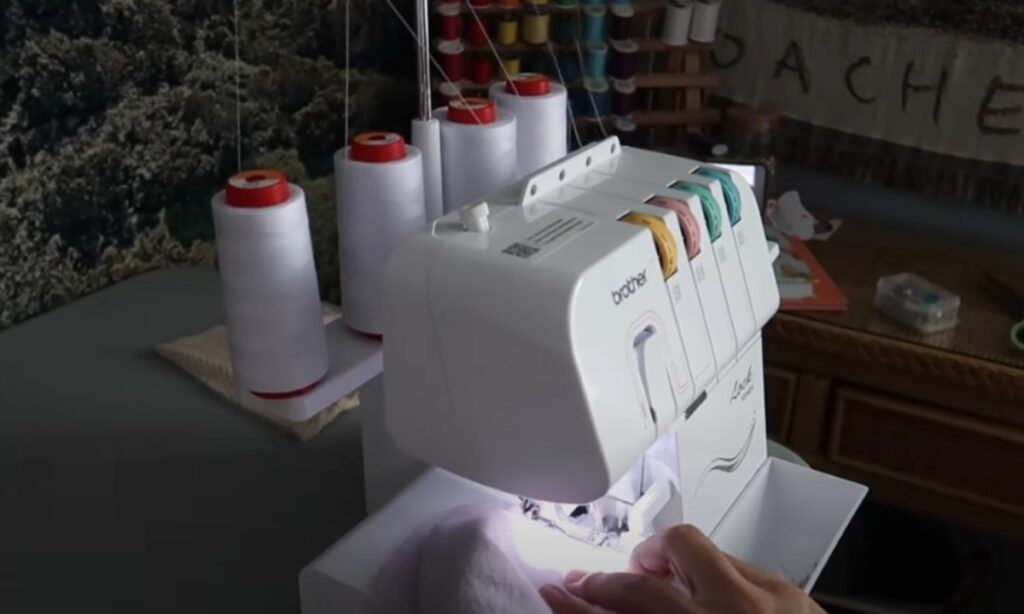
Then you can add the sleeves and sew up the side seams. If you have a serger, use it to get clean finishes.
A zigzag or lightning stitch on your regular sewing machine will also work well.
7. Attach the hood and waistband
Pin the hood inside the neckline with the right sides facing each other, then stitch all the way around.
Next, sew the waistband or ribbing to the hem to complete it. Finally, attach the pocket if you have not already done so.

8. Finish seams and reveal the hoodie
Tie off loose threads neatly instead of using backstitches to get a cleaner look.
Cut away any extra bulk, press your hoodie well, and make sure the seams lay flat on both the inside and outside.
Your patchwork hoodie is now complete, a unique piece that shows balanced colors and a neat finish.

What Mistakes Should You Avoid?
When making a patchwork hoodie, stay away from tricky fabrics like loose-knit sweaters if this is your first project. They unravel quickly and are hard to manage.
Always leave seam allowance when cutting your patches, or the hoodie will end up too tight.
Keep the colors balanced by making sure the same shades do not touch side by side.
Avoid going too extreme with patch sizes, pieces that are too big look blocky, and tiny scraps create bulky seams.
Pay attention to the grainline when cutting to avoid twisting later. Instead of backstitching every seam, tie off your threads for a cleaner finish.
If any fabric feels too thin, add a lining to keep the hoodie evenly weighted.
Press each seam as you go to keep them flat, and double-check the hood placement before sewing. A small mistake here can ruin all your hard work.
Conclusion
You will find that making a DIY patchwork hoodie feels overwhelming at first, but you should see that breaking it into steps makes it just a mix of planning, cutting, and sewing with some purpose.
The key is to prepare your fabrics, balance your colors, and sew with patience so the final piece looks clean and feels comfortable.
Do not worry if your first hoodie is not perfect, patchwork is all about character and uniqueness.
Each project will get easier, and every hoodie you make will carry its own story.
FAQs
Can I make a patchwork hoodie without a sewing machine?
You can sew by hand, but expect it to take much more time. The seams will not stretch as well either.
When you work with stretch fabrics like sweatshirts, use a new or regular sewing machine with a zigzag or stretch stitch instead.
Can I mix different fabric types in one hoodie?
You can mix different fabrics, but stick with fabrics that weigh about the same.
When you mix fleece with thin cotton, your hoodie will feel lumpy and weird.
If you want to add lighter fabric to your project, put a lining behind it first. This way, it will match the thickness of your other fabric pieces.
You may also like to read!
- How to Make a DIY Pin Board – Ultimate Guide
- How to Make a DIY Backpack – Step By Step Guide
- Make Your Own Closet Shoe Rack Like a Pro

Fasial is the founder of the Fizzy Flare. He has been a passionate blogger since 2021. He ran three different websites in the past few years. Now he is focusing on Fizzy Flare to build an audience and help them organize their life.