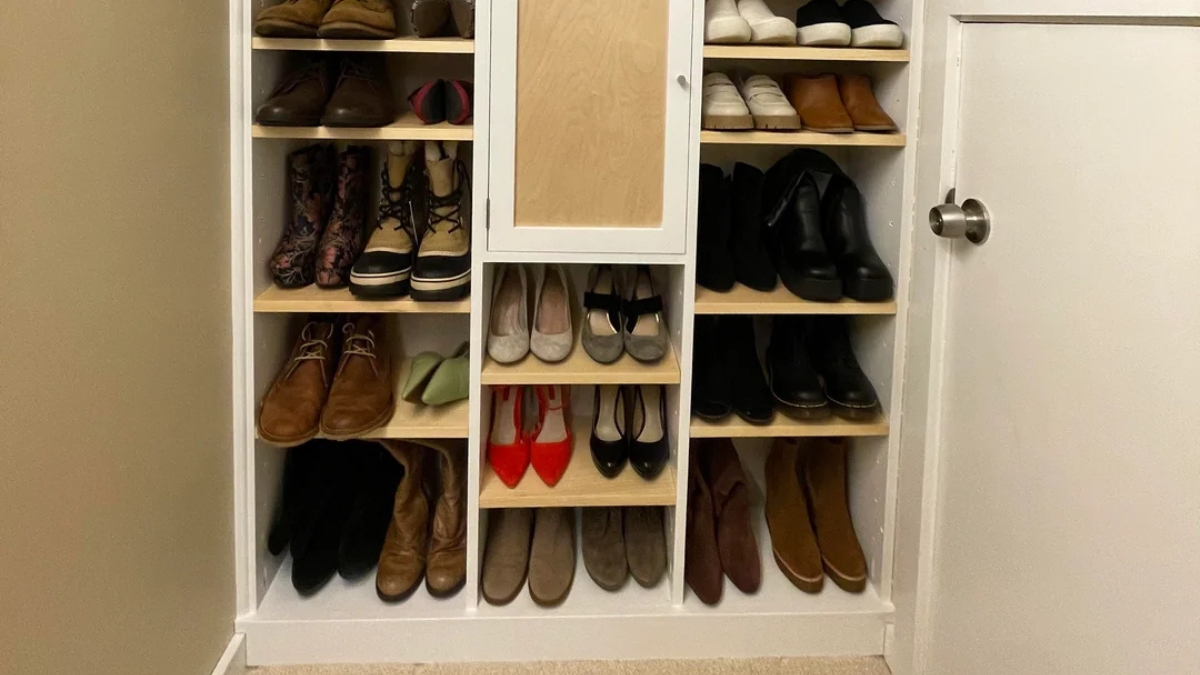
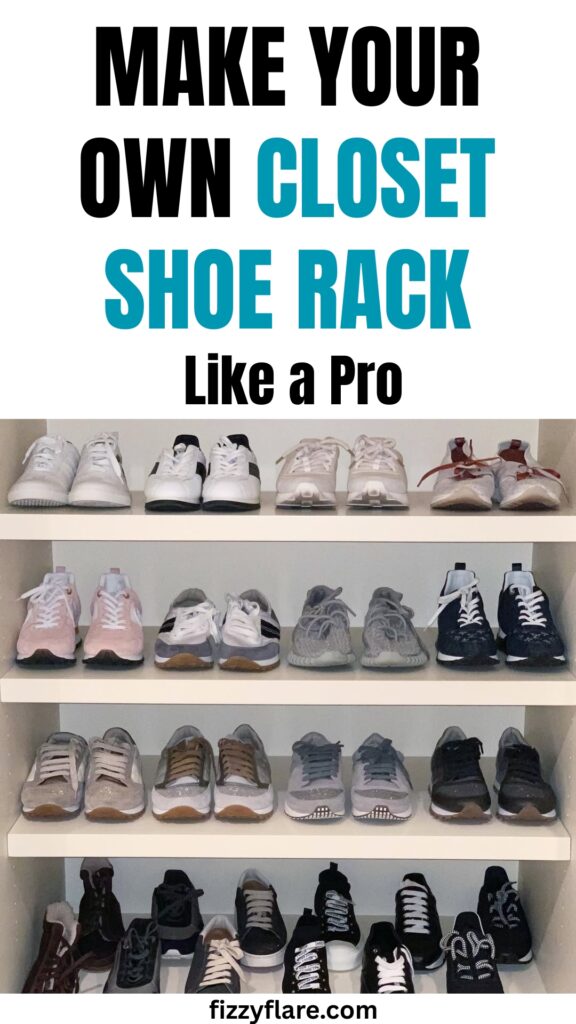
Make Your Own Closet Shoe Rack Like a Pro
This post may contain affiliate links: full affiliate disclosure.
Let’s face it – if your shoes are scattered all over the closet floor, it is a daily hassle.
You waste time trying to find a matching pair. Some get squashed. Others gather dust.
And those store-bought racks? They either do not fit your closet or break down after a few months.
That is why you are here – to make a simple, custom shoe rack that actually fits your space.
You do not need fancy tools or a workshop. Just the right plan, a few basic materials, and some time.
At the end of this article, you will understand the exact step-by-step method – clear and straightforward.
Contents
- 0.1 Why You Need a DIY Closet Shoe Rack
- 0.2 Tools and Materials You’ll Need
- 0.3 Tools:
- 0.4 Materials:
- 0.5 Measure Your Closet the Right Way
- 1 Choose a Shoe Rack Design That Fits Your Space
- 2 Step-by-Step: Build a Basic Wooden Shoe Rack
- 3 How Many Pairs Will It Hold? (With Sizing Table)
- 4 Common Mistakes and How to Fix Them
- 5 Conclusion
Why You Need a DIY Closet Shoe Rack
- Your shoes are scattered all over the floor, making them hard to find.
- Store-bought racks either do not fit your space or break too easily.
- Building your own rack makes better use of your space, from floor to ceiling.
- You can design it to match your closet and the number of shoes you own.
- It is cheaper, stronger, and keeps everything neat and easy to find.
Tools and Materials You’ll Need
Before you begin, gather everything you need in one place. These are basic tools and materials that anyone can handle. You do not need any advanced equipment.
Related: How to Build a DIY Plywood Storage Bench
Tools:
- Tape measure – Use this to measure your closet space accurately.
- Pencil and level – Mark straight lines to guide your work.
- Drill and drill bits – These are for putting the frame together.
- Saw – A handsaw or circular saw will work to cut wood. You can ask any hardware store to cut it for you.
- Screwdriver – Use a manual or power screwdriver to install screws.
- Clamps (optional) – These can hold pieces steady while you drill.
Materials:
- Plywood or 1×12 boards – These will be your shelves.
- 1×2 or 2×2 wood strips – Use these for the frame or to support the shelves.
- Wood screws – Screws that are 1½ inches or 2 inches long work best.
- Wood glue (optional) – This adds extra strength to your build.
- Sandpaper – Smooth out any sharp edges.
- Paint or stain (optional) – Use this if you want a polished finish.
- Shelf liners (optional) – These keep shoes from sliding around.
Choose your materials based on your budget and how finished you want the final look to be. For a simple build, you only need the top items from each list.
Measure Your Closet the Right Way
| What to Measure | Why It Matters | How to Do It |
| Width | Tells you how long your rack can be | Measure the distance along the floor from left to right, going wall to wall. |
| Depth | Makes sure the rack does not stick out or block doors | Measure from the back wall to the front edge or the door frame. |
| Height | Helps you decide how many shelves to add | Measure the space from the floor to the shelf above or the hanging clothes. |
| Obstacles | Avoids surprises when you install it | Check for baseboards, vents, sloped floors, or outlets that might take up space. |
| Shelf Count Estimate | Shows you how many shelves will fit vertically | Divide the total height by 8 inches to calculate standard shoe spaces. Use 12 inches if you plan to store boots. |
Choose a Shoe Rack Design That Fits Your Space
Not every closet is the same, so do not start building without a plan.
The right shoe rack design depends on the size and layout of your closet. Here are three designs that fit well in most spaces.
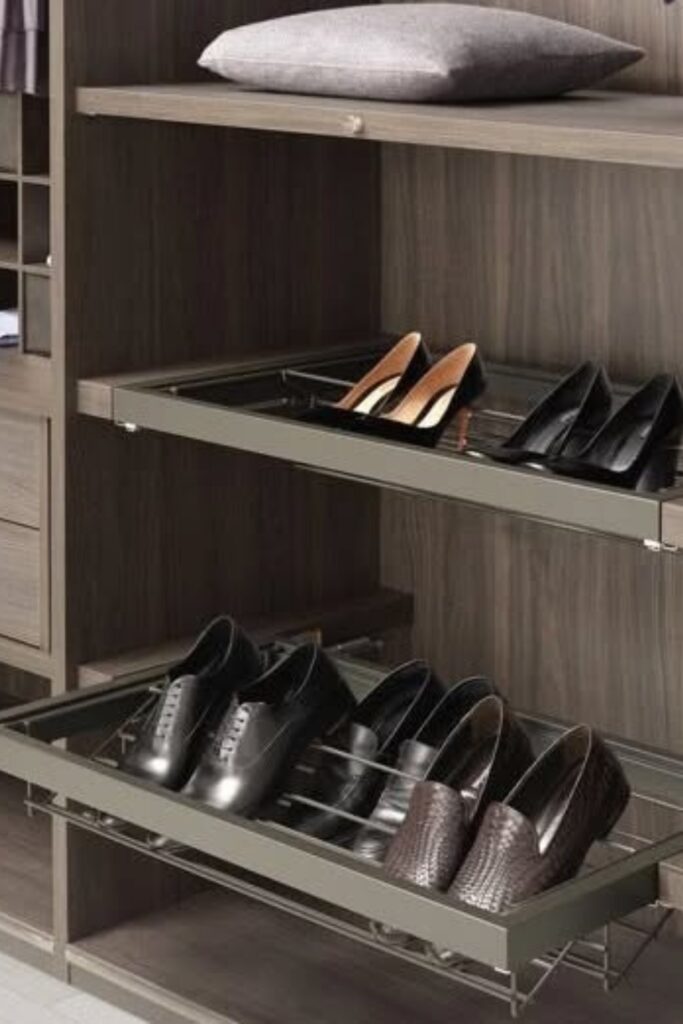
1. Slanted Shelf Rack (Best for reach-in closets)
This design features shelves set at a slight angle, usually about 15 degrees.
It lets you see all your shoes clearly and makes them easy to grab. This works well if your closet is wide but not very deep.
Just remember to add a front edge so the shoes stay in place and do not slide off.
Related: DIY Recessed Shelves Between Studs
2. Cubby-Style Rack (Best for deep or corner closets)
Cubbies are square or rectangular spaces that can hold one or two pairs of shoes in each slot.
They work well if you have enough depth and want a clean, uniform look. You can stack them to make better use of vertical space.
3. No-Drill Modular Rack (Best for renters and small closets)
Use stacking crates, hanging canvas shelves, or tension rod racks.
These options do not require tools or drilling, making them safe for renters. These are perfect for temporary setups.
Save this article for later! 👇👇
Step-by-Step: Build a Basic Wooden Shoe Rack
Follow these easy steps to make a simple wooden shoe rack with three shelves. This design fits well in most closets and can hold about 9 to 12 pairs of shoes.
Step 1: Cut the wood
- Cut two side panels. Each panel should be about 30 inches tall.
- Cut three shelf boards. The length of each board should be the width of your closet minus one inch.
- Cut six support strips. Use 1×2 boards, and make them the same length as the shelf boards.
Beginner tip: If you do not have a saw, ask the hardware store to cut the boards for you.
Step 2: Mark shelf positions
- Use a pencil and a level to mark the spots for the shelves.
- Keep the marks about 8 to 9 inches apart.
Do not skip this step: Making sure your marks are even on both panels will keep the shelves level.
Step 3: Attach support strips
- Screw one support strip onto each marked line on the inside face of both side panels.
- These strips will hold the shelves in place.
Mistake to avoid: Always pre-drill screw holes to prevent the wood from splitting.
Step 4: Add the shelves
- Place each shelf board onto the support strips.
- Screw or glue them down to keep them secure.
Tip: Use clamps to hold the boards steady while you screw them in.
Step 5: Check for stability
- Place the rack upright on a flat surface.
- Tighten all the screws to make sure they are secure.
- Test the rack by putting a few pairs of shoes on it.
Optional: Smooth out any rough edges with sandpaper, paint or stain the rack if you want, and attach rubber pads to the bottom to stop it from sliding.
How Many Pairs Will It Hold? (With Sizing Table)
Before starting your project, it is important to know how many shoes your rack can hold.
Use this table to estimate based on the width of your closet and the type of design you choose.
This will help you plan the number of shelves and decide how wide each shelf should be.
Shoe Capacity Estimate Table
| Closet Width | Slanted Shelf Rack (3 shelves) | Cubby Rack (3 rows) | Crate/Modular Setup |
| 24 inches | 9 pairs (3 per shelf) | 6 cubbies (2 per row) | 6–8 pairs (2 crates) |
| 36 inches | 12 pairs (4 per shelf) | 9 cubbies (3 per row) | 8–12 pairs (3 crates) |
| 48 inches | 15 pairs (5 per shelf) | 12 cubbies (4 per row) | 10–16 pairs (4+ crates) |
Related: Rolling Under Bed Storage DIY
Common Mistakes and How to Fix Them
- Shelves are not level – Use a level to check. Mark the same spot on both side panels.
- Rack is wobbly – Tighten all the screws. Place pads under the base for stability.
- Wood is splitting – Drill small holes before driving in screws.
- Shelves are sagging – Add a center support for shelves longer than 36 inches.
- Does not fit the closet – Measure again. Trim the boards to fit if needed.
Conclusion
You do not need an expensive setup or a big budget to tackle your shoe clutter.
A simple DIY rack can bring order to your closet. It saves space, keeps your shoes in good shape, and makes the best use of what you already have.
Choose a design that works for your space. Follow the steps. Do not overcomplicate it.
Build it this weekend. The moment you open your closet, you will notice the difference.

Fasial is the founder of the Fizzy Flare. He has been a passionate blogger since 2021. He ran three different websites in the past few years. Now he is focusing on Fizzy Flare to build an audience and help them organize their life.