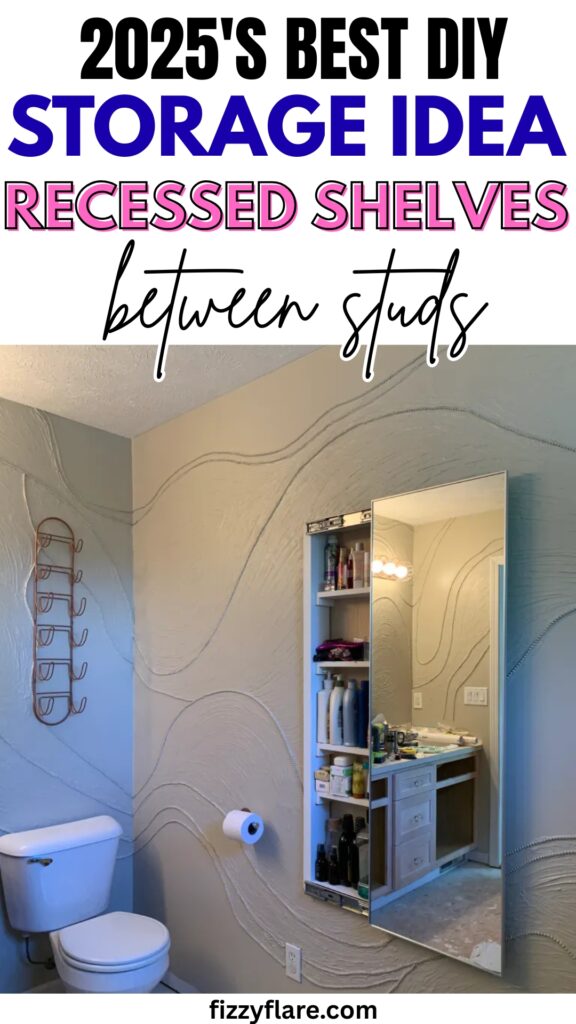
2026 Best DIY Storage Idea: Recessed Shelves Between Studs
This post may contain affiliate links: full affiliate disclosure.
You look at your walls and wonder why there is never enough space to store or display the things you need.
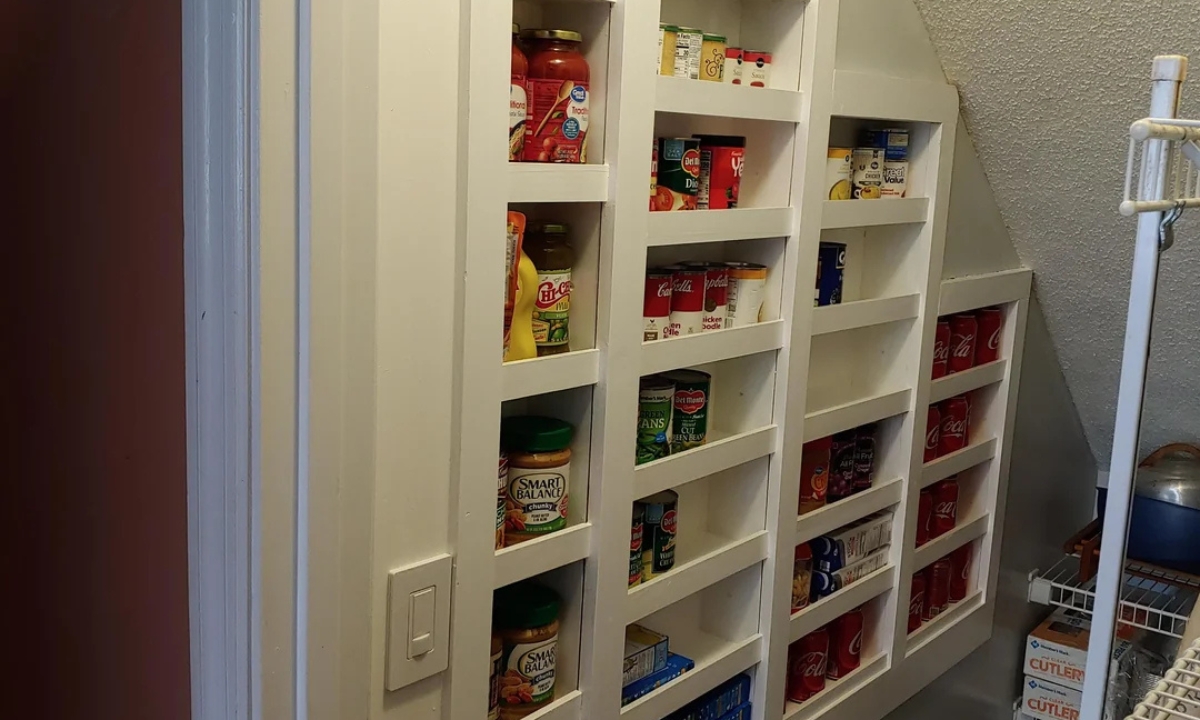
Shelves take up too much room, and cabinets feel bulky. But what if you could use the space hidden inside your walls? Recessed shelving between studs is the solution.
If you are like most people, you might worry about hitting wires, making a mess, or ending up with shelves that look homemade instead of professional.
This guide will take you through each step to create smart, safe, and stylish built-in storage – without the stress or mistakes.
Contents
- 1 Check If Your Wall Is Safe for Recessed Shelving?
- 2 What You Need: Tools, Materials, and Prep
- 3 Planning the Perfect Shelf for Your Space
- 4 How to Find and Cut Between Studs Safely
- 5 Framing and Building the Recessed Shelf
- 6 Pro-Level Finishing for a Built-In Look
- 7 Fixing Common Mistakes and Troubleshooting
- 8 Conclusion
Check If Your Wall Is Safe for Recessed Shelving?
Check your wall before starting. You have to use a stud finder that can also detect wires and pipes. Move it across the area you plan to use.
If you find wires, pipes, or anything unusual, do not cut into the wall. Never use exterior walls because they have insulation or structural parts.
Stay away from walls in bathrooms or kitchens, as they often hide plumbing. If you are not sure, drill a small test hole and look inside.
If you see anything that does not belong there, choose a different spot.
Related: Rolling Under Bed Storage DIY
What You Need: Tools, Materials, and Prep
You need a stud finder to detect wires and pipes, a tape measure, a pencil, and a level to mark your spot.
Use a utility knife and a drywall saw or an oscillating tool to cut the opening.
A drill with screws and some two-by-four lumber will help you frame your shelf, and you will need wood boards or plywood for the shelves.
Add trim if you want a clean edge. Keep caulk or wood filler, sandpaper, and paint ready to finish everything off.
Lay down a drop cloth and have a flashlight or your phone handy to check inside the wall.
Planning the Perfect Shelf for Your Space
Follow these steps to make sure your recessed shelf fits your needs and space:
- Decide what you want to store, whether it is bottles, books, spices, or decorations.
- Measure the space between the studs. It is usually about 14.5 inches wide.
- Measure the depth of the wall cavity. It is often about 3.5 inches.
- Decide how many shelves you need. Set the shelf heights based on the size of your items.
- Make sure the shelf location does not block switches, outlets, or vents.
- Leave a little extra space for trim or a finished edge if you want a clean look.
- Sketch your layout on paper before you start to double-check your plan.
Planning this way will help you create a shelf that works for your space and your belongings.
How to Find and Cut Between Studs Safely
Follow these steps to safely open your wall and avoid mistakes. Taking your time will help prevent damage and keep your project on track.
| Step | What to Do | Why It Matters |
| Find stud edges | Use a stud finder and knock to listen for a solid sound. | Know where it is safe to cut. |
| Scan for wires/pipes | Check the stud finder for any hazard alerts. | Avoid hitting any electrical wires or plumbing. |
| Mark cut lines | Mark your points with a pencil and use a level. Stay within the stud area. | Keep your cuts straight and accurate. |
| Drill test hole | Shine a flashlight or use your phone to look inside. | Check that the cavity is completely clear. |
| Score and cut drywall | Start cutting with a utility knife, then switch to a drywall saw or oscillating tool. | Make clean and controlled cuts. |
| Remove drywall piece | Remove the section and clean up any rough edges. | Get ready for shelf installation. |
| Cut slowly, watch for problems | Stop immediately if you come across anything unexpected. | Prevent expensive damage. |
Planning this way makes sure your shelf fits your space and holds your items.
Related: How to DIY Pegboard Tool Organizer
Framing and Building the Recessed Shelf
- Measure the opening you made in the wall.
- Now cut two pieces of 2×4 lumber to fit the width of the opening for the top and bottom frames.
- Place one 2×4 at the top and one at the bottom between the wall studs. Attach each piece securely to the studs with screws. This will form a sturdy frame for the shelf.
- Cut your shelf boards or plywood to match the width and depth of the opening.
- Attach the shelves to the side studs and the top and bottom frame pieces using screws or wood glue.
- For added support, you can place small wood strips underneath each shelf.
- Check that the shelves are level before tightening the screws.
- If you want a polished look, add a wood face frame or trim around the edges of the opening.
This approach creates a strong structure for your recessed shelf while keeping it neat and snug inside the wall.
Save this article for later! 👇👇
Pro-Level Finishing for a Built-In Look
For a pro level finishing you have to fill screw holes and gaps with caulk or wood filler. After this you have to sand the surface to smooth it.
Attach trim or molding around the edges to hide any rough areas and give the opening a clean border.
Before painting you have to wipe out dust. Paint the shelves and trim so they match the color of your wall.
Allow everything to dry completely before placing anything on the shelf. These steps will give your recessed shelf a tidy, built-in appearance.
Related: How to Build a Floating Shelf by Yourself
Fixing Common Mistakes and Troubleshooting
If the edges of your drywall are rough or uneven, clean them up with a utility knife or sandpaper before attaching the trim.
For any gaps between the shelf and the wall, fill them with caulk or wood filler and smooth the surface.
If the shelves are not level, loosen the screws, adjust them, and tighten them again.
If the paint or finish looks uneven, sand the surface lightly and apply another coat. These simple steps will keep your shelf neat and safe.
Conclusion
Recessed shelving between studs is an easy way to add storage without using extra space.
Check your wall, plan your shelf, and follow each step carefully to get a clean, built-in look.
Always stay safe and take your time. This project can give you more storage and a neat, custom finish in any room.

Fasial is the founder of the Fizzy Flare. He has been a passionate blogger since 2021. He ran three different websites in the past few years. Now he is focusing on Fizzy Flare to build an audience and help them organize their life.